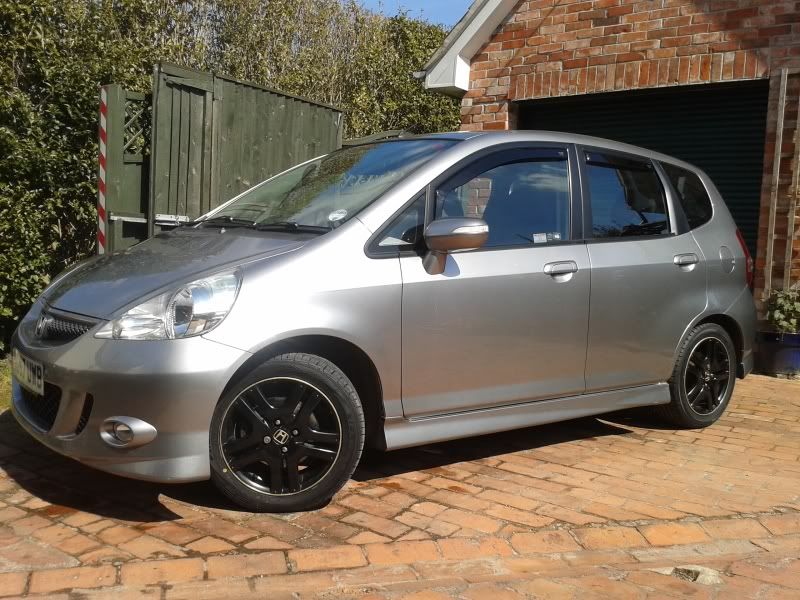
I've got 2 sets of wheels. One for winter use, the other for summer. The winter ones looks terrible, the summer ones need to look good so I refurbed them myself. I've got access to aerosol cans cheap so that was the way forward for me.
In my mind, silver was boring. Let's go black!
So to help others here, this is how I did it. I sprayed mine without tyres and valves fitted as otherwise when your tyres are changed, it'll look crap and you'll need to repaint. Most local garages will pop the tyres off for you for free if you promise you'll bring the back to have them put the tyres back on and pay (or maybe 50/50 it.
Step 1: Buff off as much paint as you can. I used a 4 1/2" angle grinder with a scotchbrite style flap wheel called an A-blend disc. Not cheap but 1 disc per 2 wheels was their life span. You can get them here:
http://www.onsite-support.co.uk/product-956/ablend-fleece-flap-disc.html. Alternatively, pay for someone to shotblast them. I do not advocate hand paint stripping. When done, you'll end up with this:

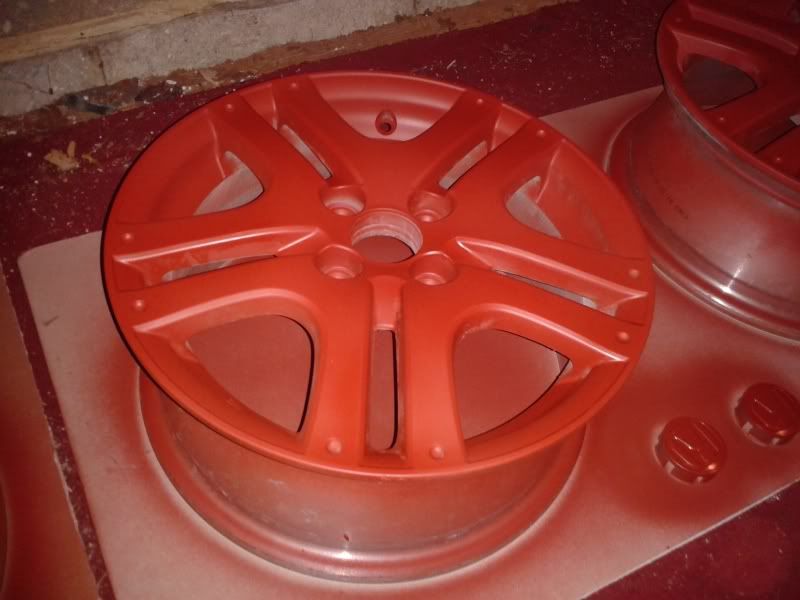
Step 2: Now it's time to paint. I use a primer which is a totally different colour to the top coat. Why? It makes it easier to see where you have painted, where you haven't and where the top coat is thin. Primer goes on over 2 days and 6 applications in a closed room (with respiratory apparatus) and temperature controlled at around 16 degrees C (integral garage). After this, the wheels are stored in location for 48 hours prior to top coat being applied. the below images show the wheels before they were inverted to primer the rear and inside.

Step 3: Apply the top coat. Thin coats at a time. I painted mine over 72 hours and 8 applications. Allowed minimum 20 minutes between coats and frequently inspected to ensure I was covering everything evenly.
Image below shows freshly painted, paint still in the air.
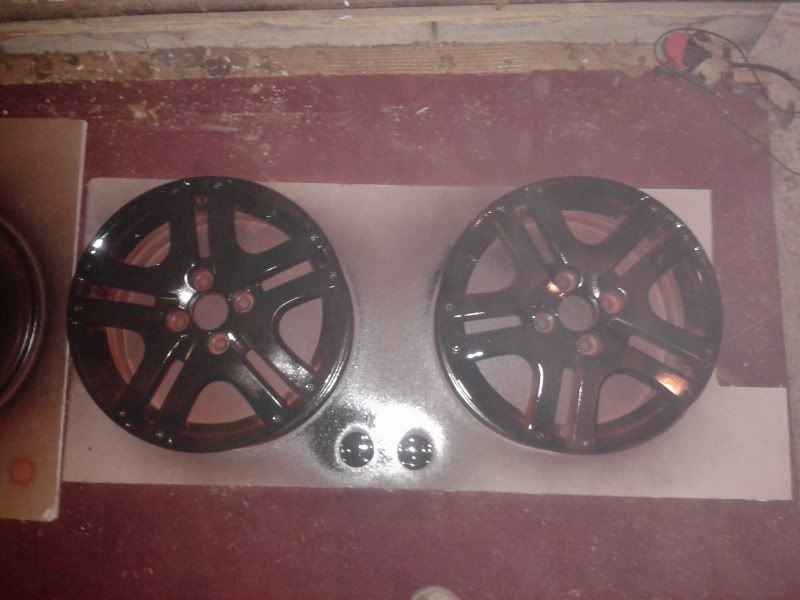
Step 4: Leave to cure for 48 hours. With wife's permission, bring indoors. The flash makes the wheels look like there's still some primer showing through but it's an optical illusion - the black is as thick as can be.

OPTIONAL: I don't like plain black rims. I like a flair of colour on mine. Gold it was...
Applied by hand. 3 coats took 5 hours to do. It was murder. I probably would use rim tape next time.


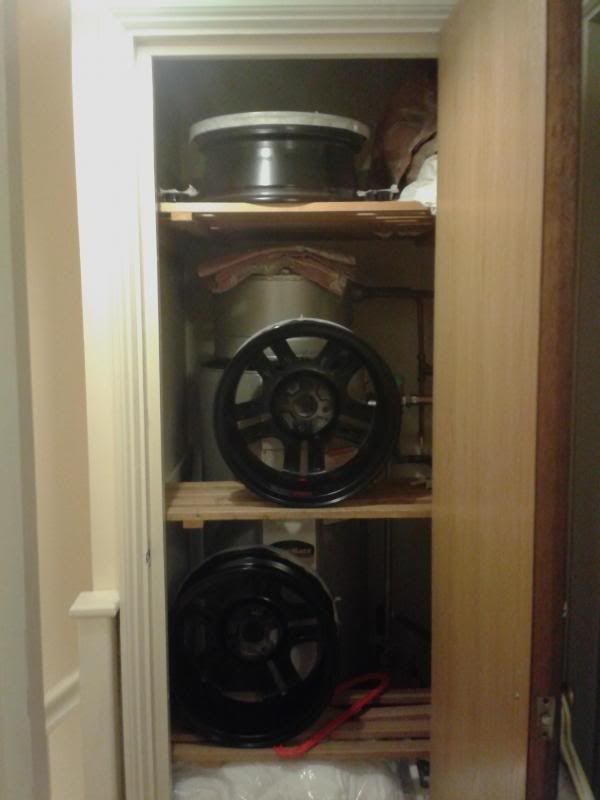
Step 5: Now you need to let them cure properly for a few days. I found our airing cupboard (at a toasty 30 degrees C was excellent so whilst the wife was away for a week, I decided to test it's capacity as a paint curing booth. Leaving them to cure fully in these sorts of conditions is key if you want the paint to last.
Step 6: Have tyres fitted and fit to car...