Sound Deadening Part 5: The Roof and Boot LidSo the next big job was the roof (which turned out to be the easiest part to apply the sound deadening to).
In the service manual it says in order to remove the roof liner, you have to remove all the rear plastic trim, side trim, as well as the grab handles, sun visors and ceiling lights.
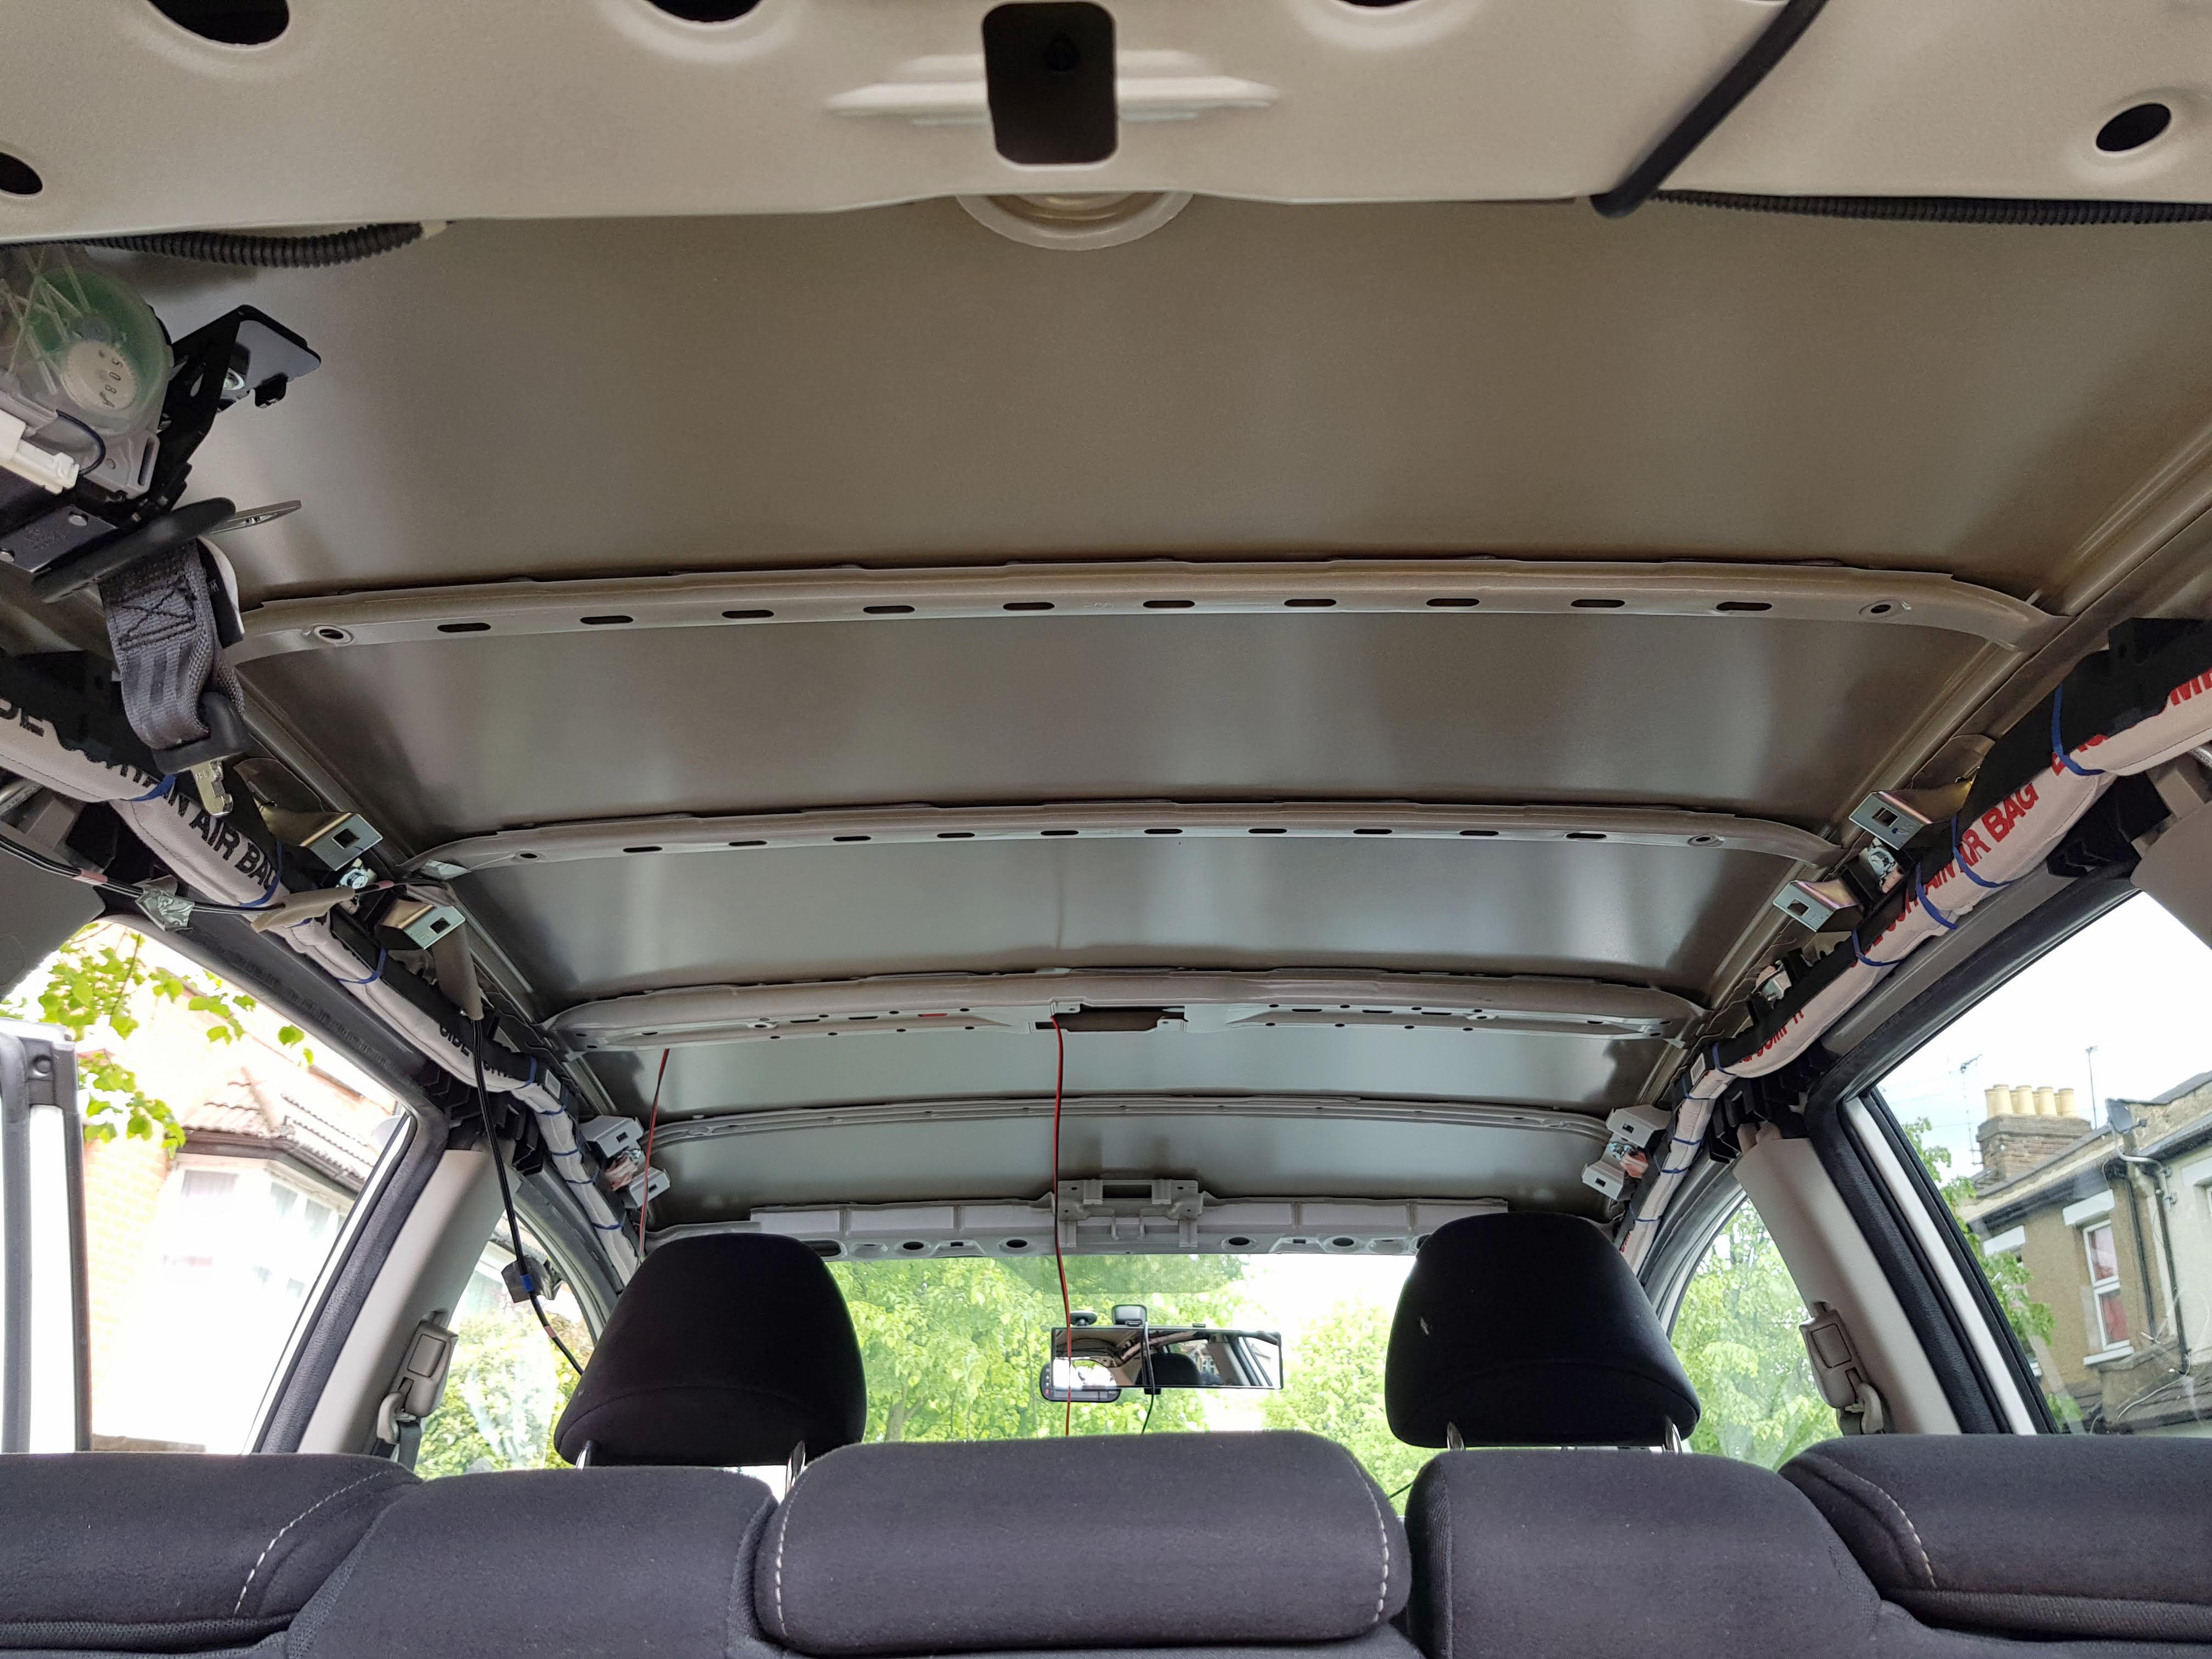
But seeing as it's fabric basically, I was convinced I could remove it by only doing the grab handles, visors and ceiling lights and jut pull the fabric over the plastics to actually remove it, saving me having to remove all the plastic panels again.
And it worked:
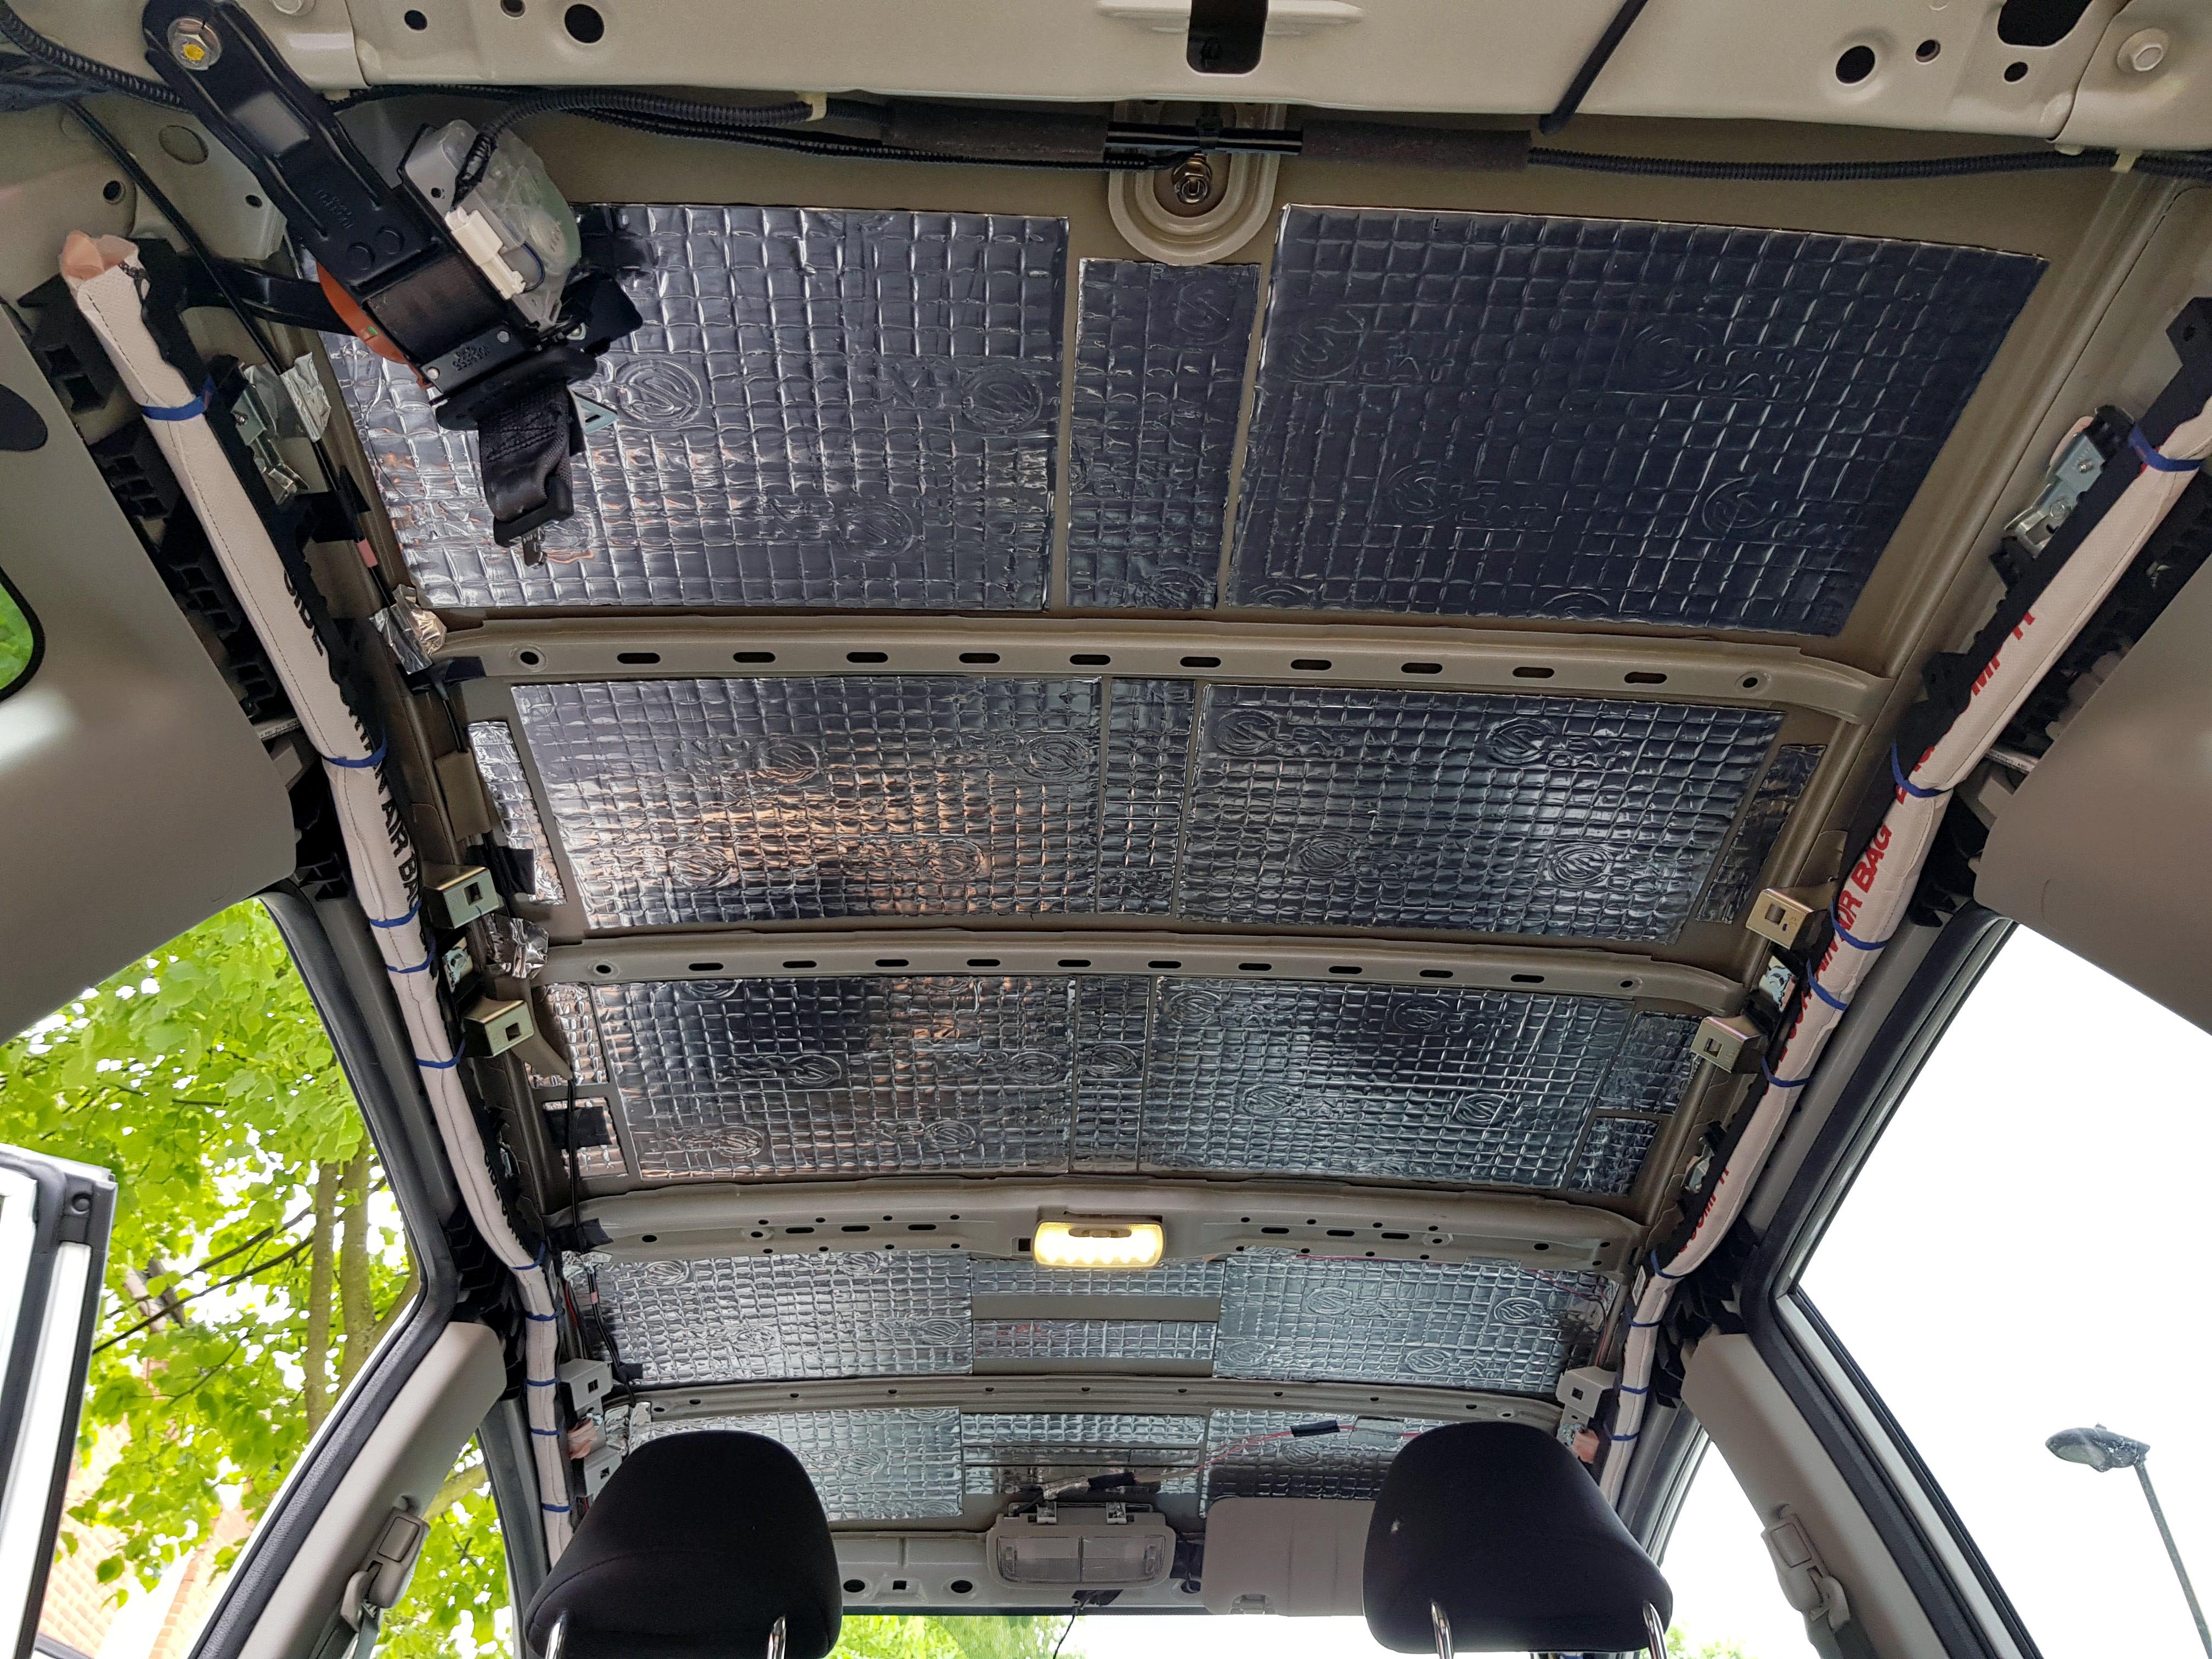
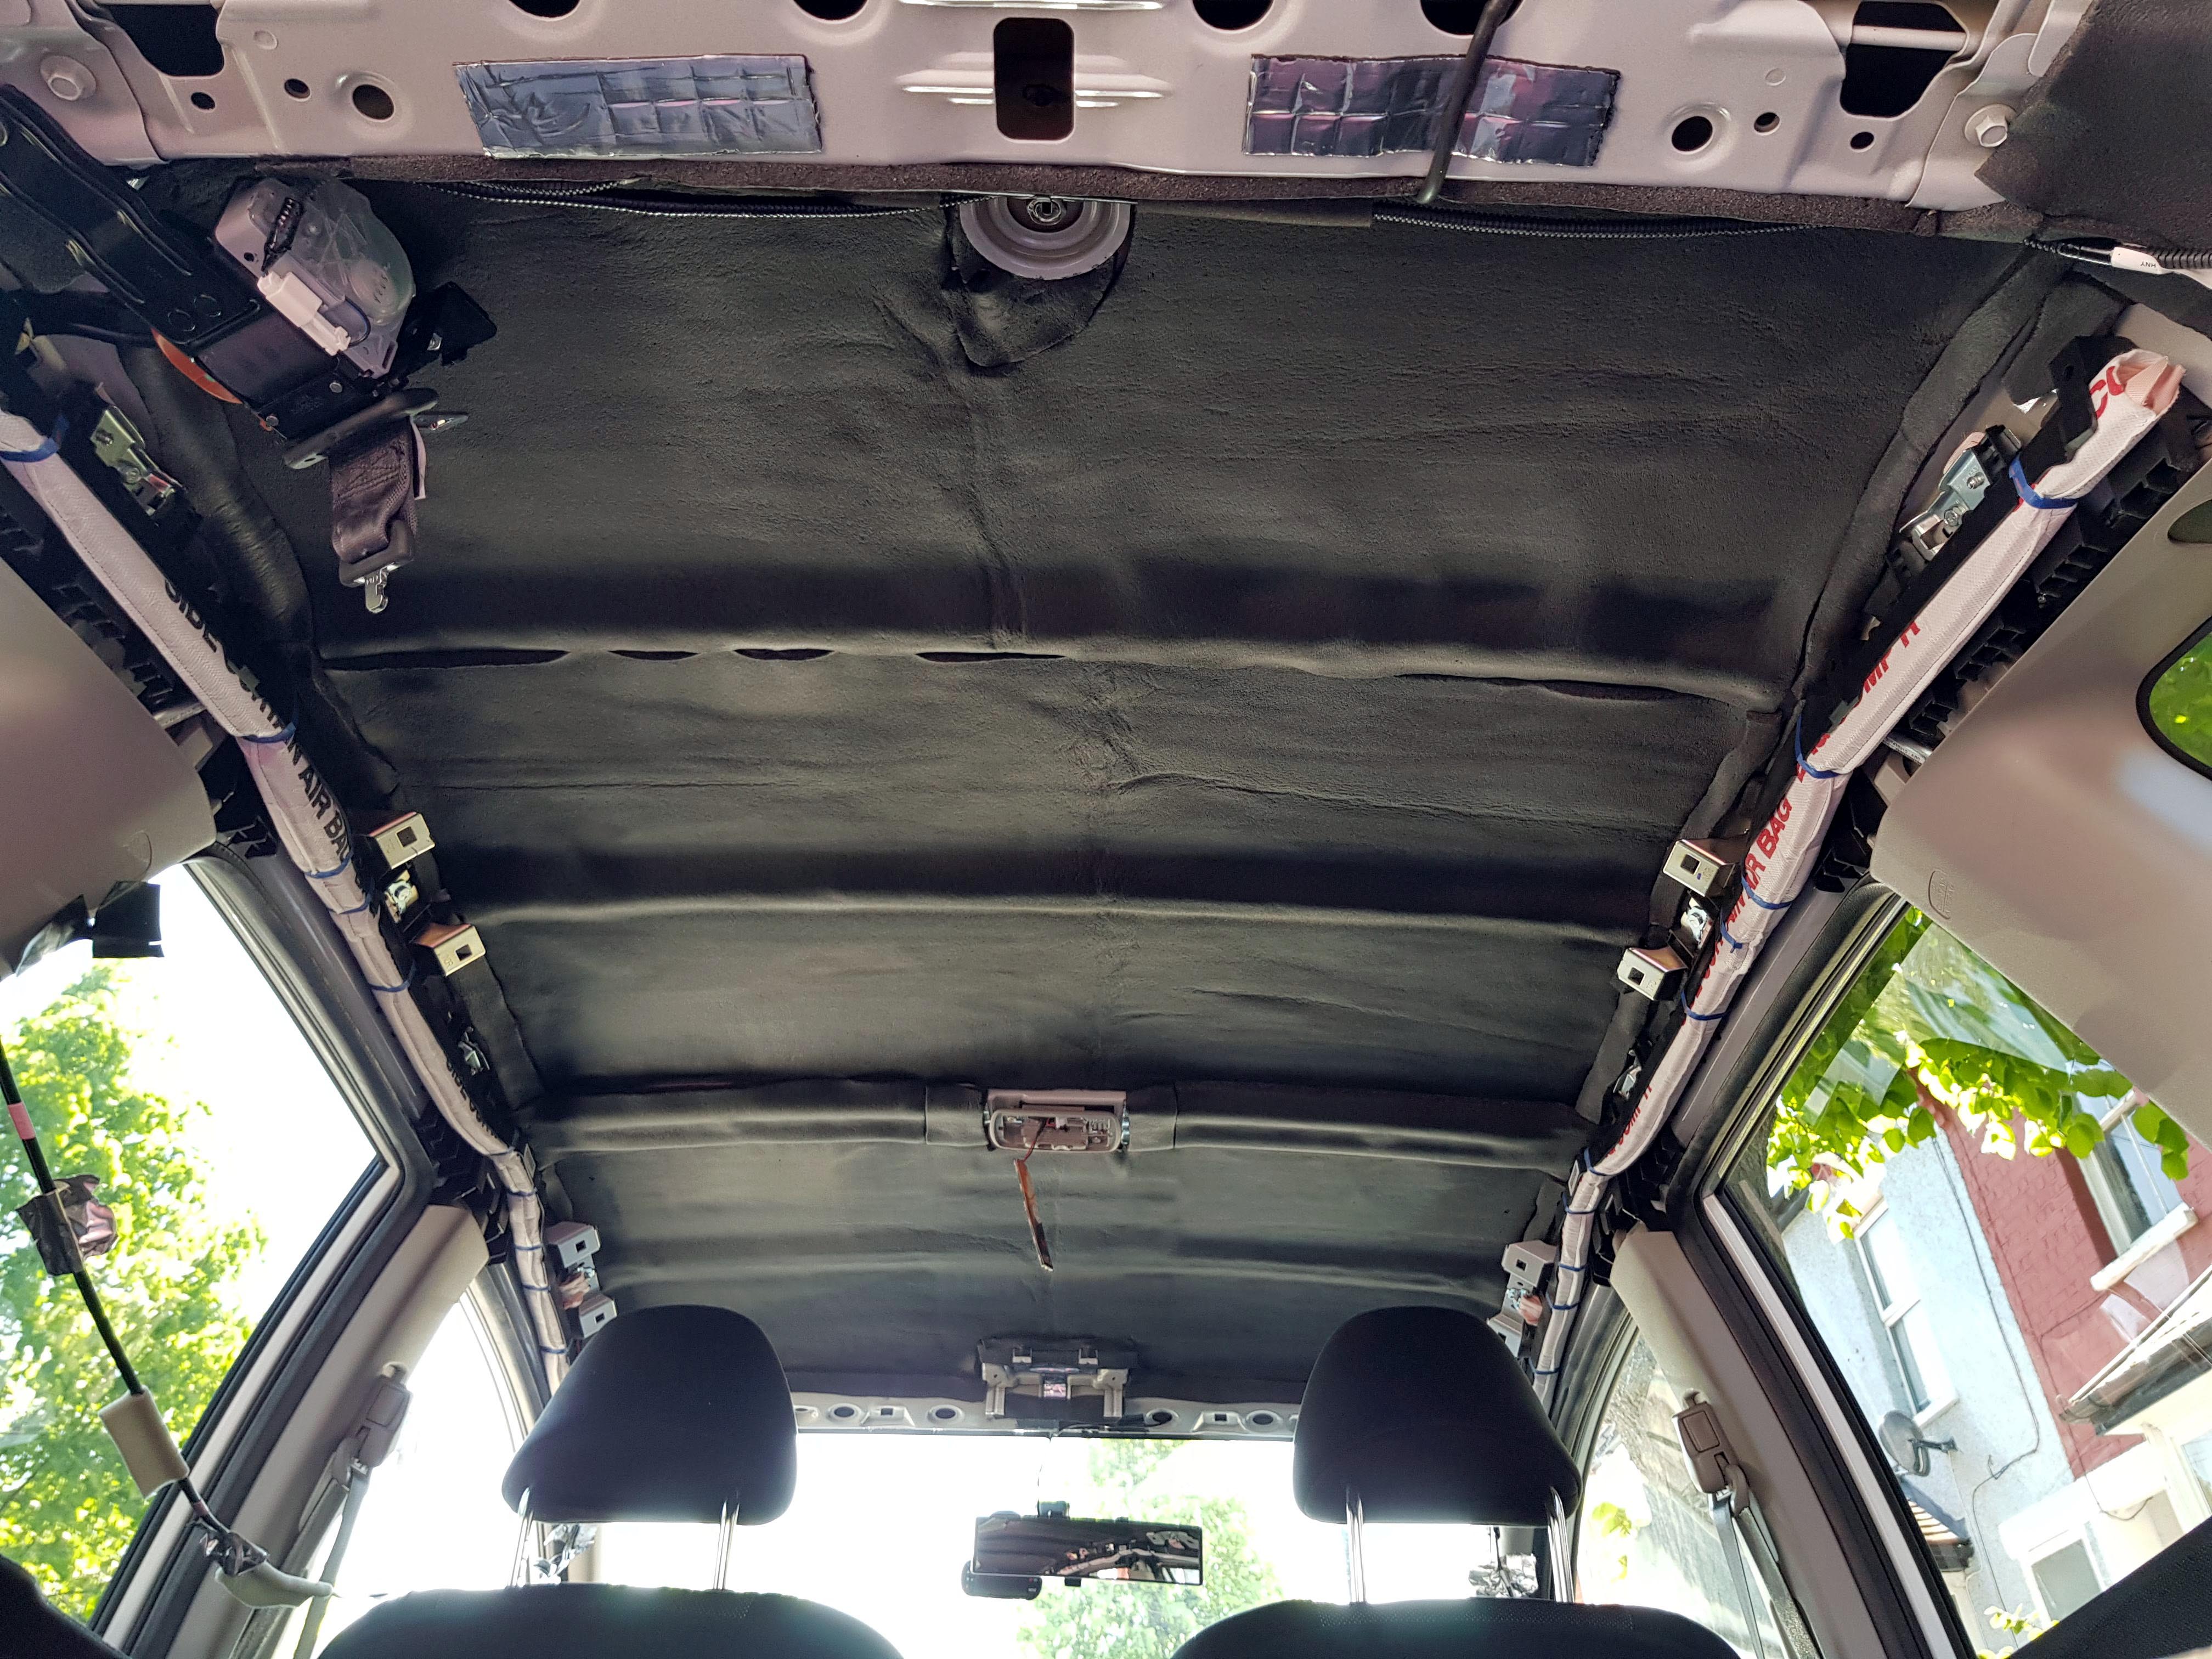
The roof was really easy to apply the Silent coat panels to, as it was basically one long flat panel:
I drove around like this for a few days until the closed cell foam sheets I had ordered arrived, and I hadn't realised just how much sound the roof liner on it's own actually removed.
10mm Closed Cell foam sheets arrived:
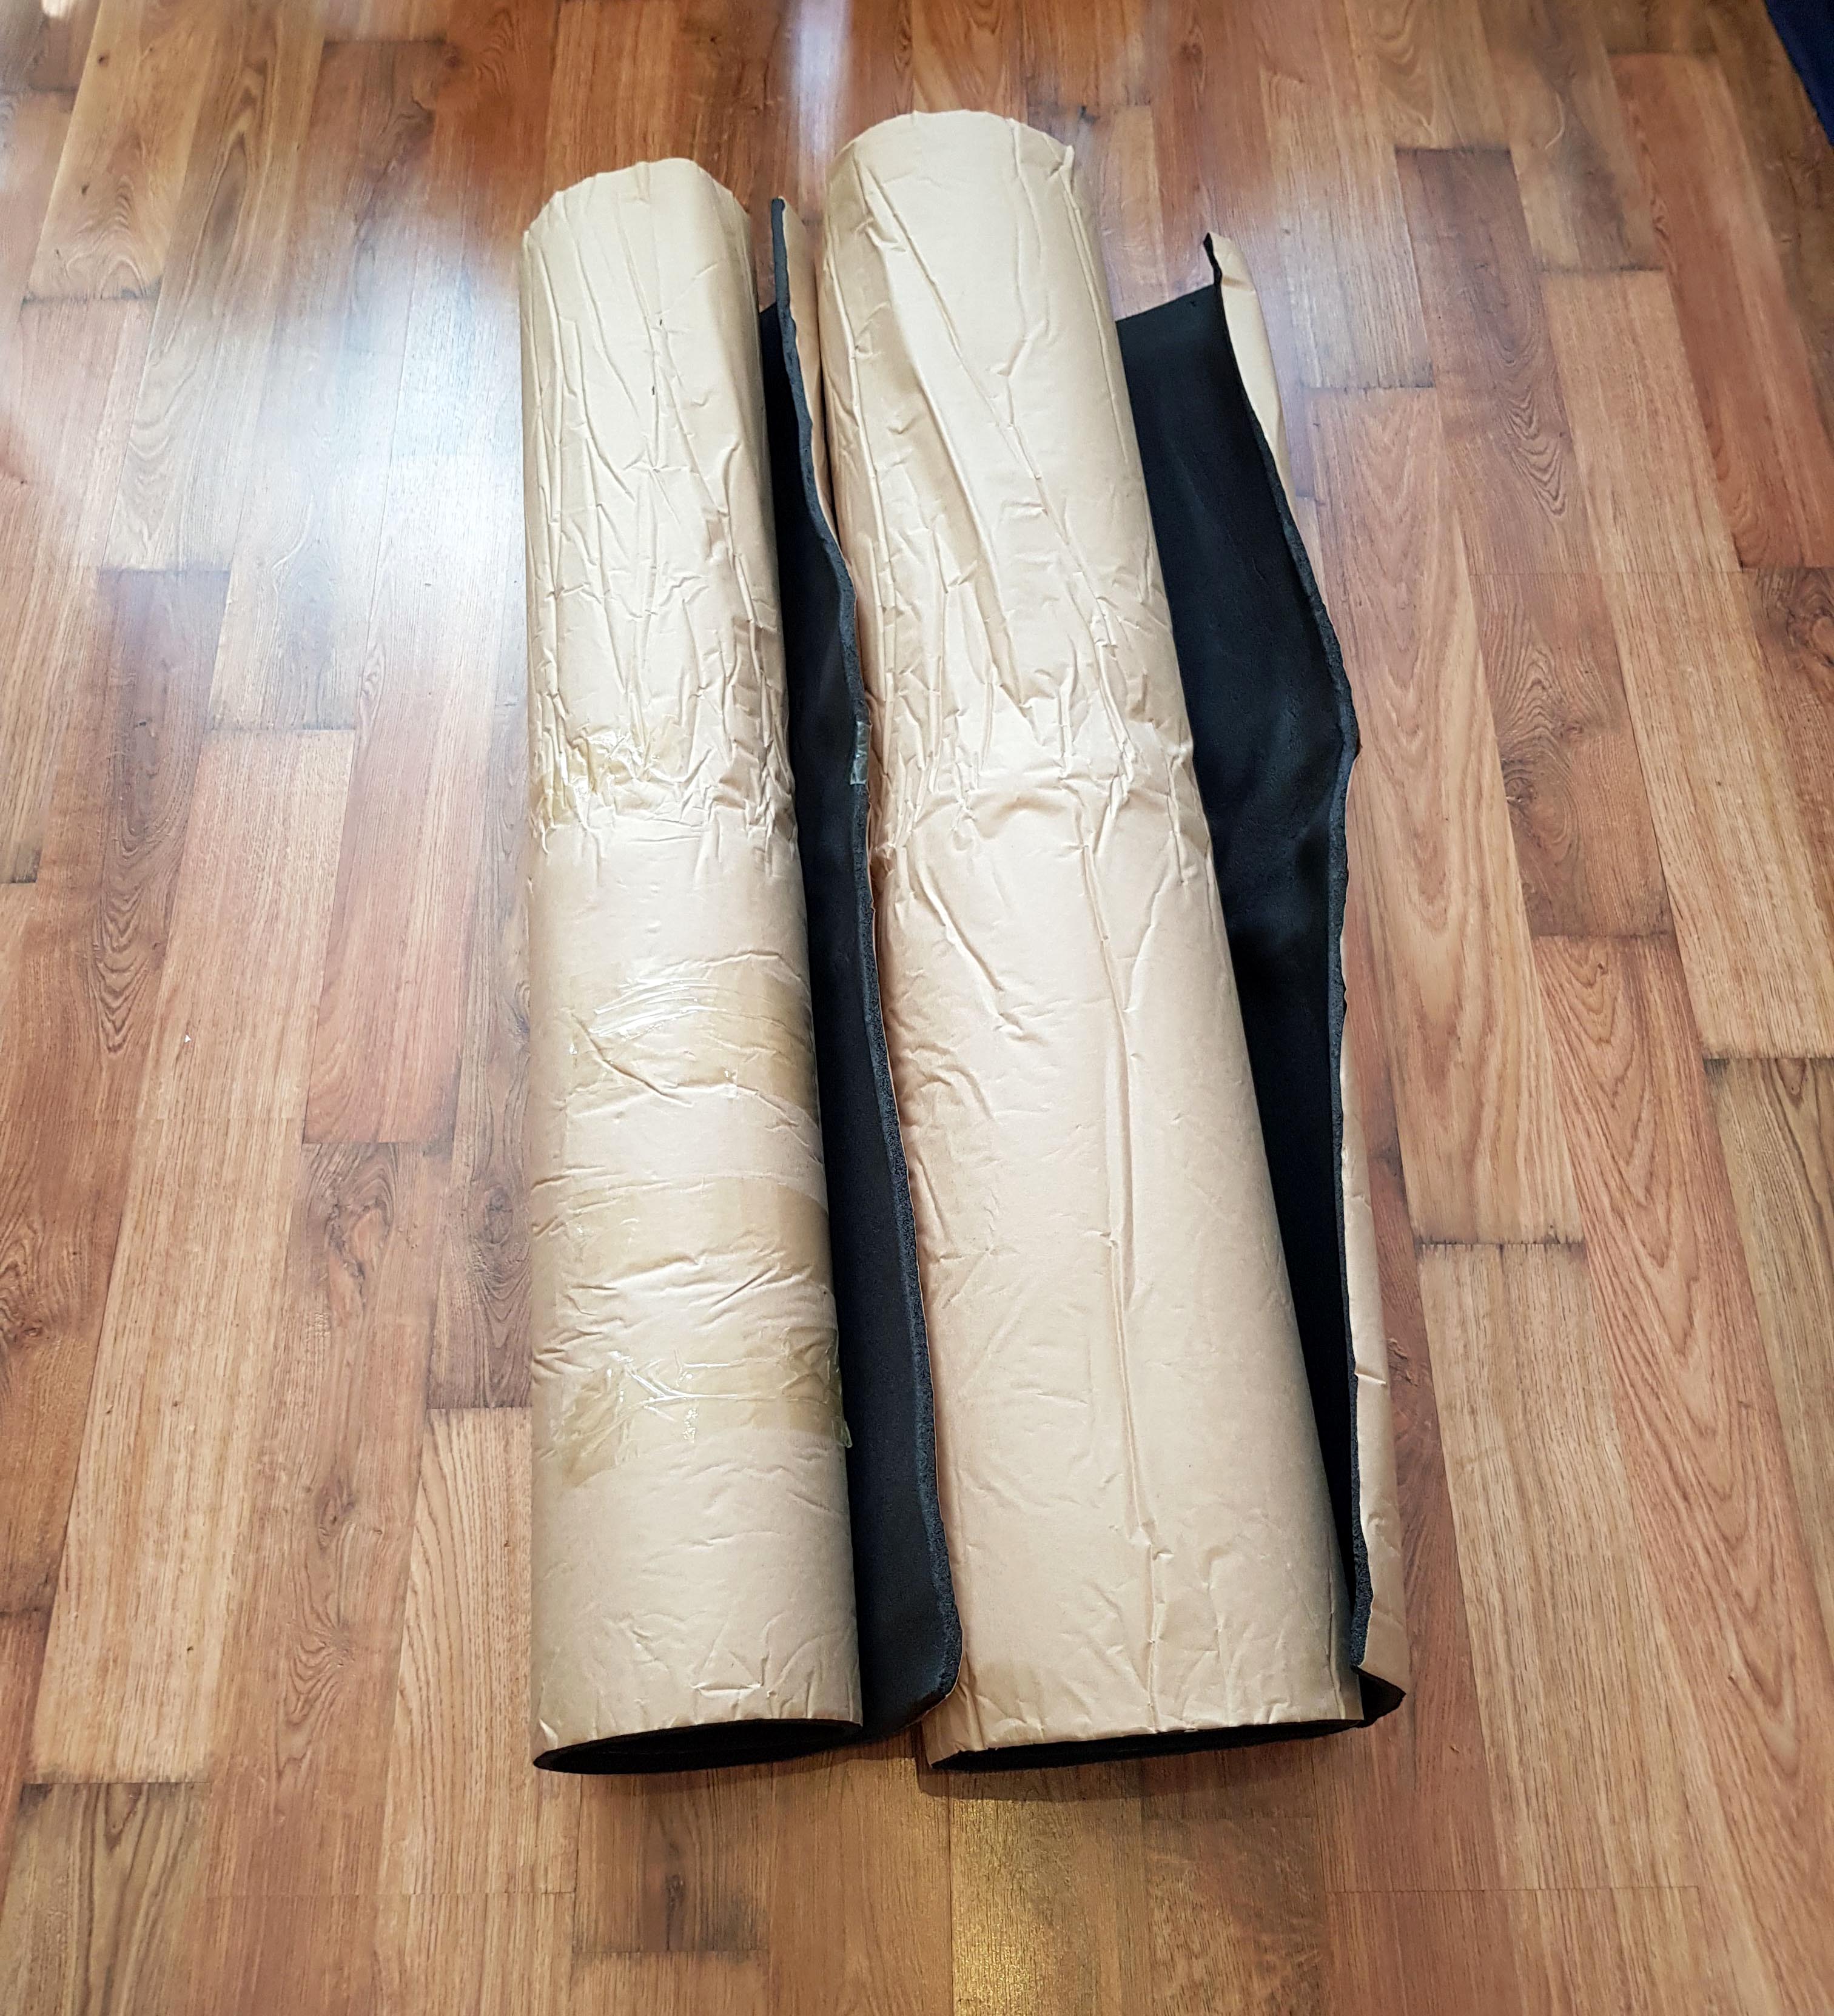
It actually worked out a lot more cost effective to order them in 1mx2m rolls. I ended up ordering 3 of them in total, which only cost me £36.
It was quite hard to work with them in large sheets compared to the smaller 50x30cm sheets I was ordering before. But I managed to get there in the end:
Putting the roof liner in was a lot harder than I was expecting.
Getting it off without removing the plastic panels was fairly easy, but getting it on was not.
I did end up slightly damaging part of the roof as I tried to bend it in to place:
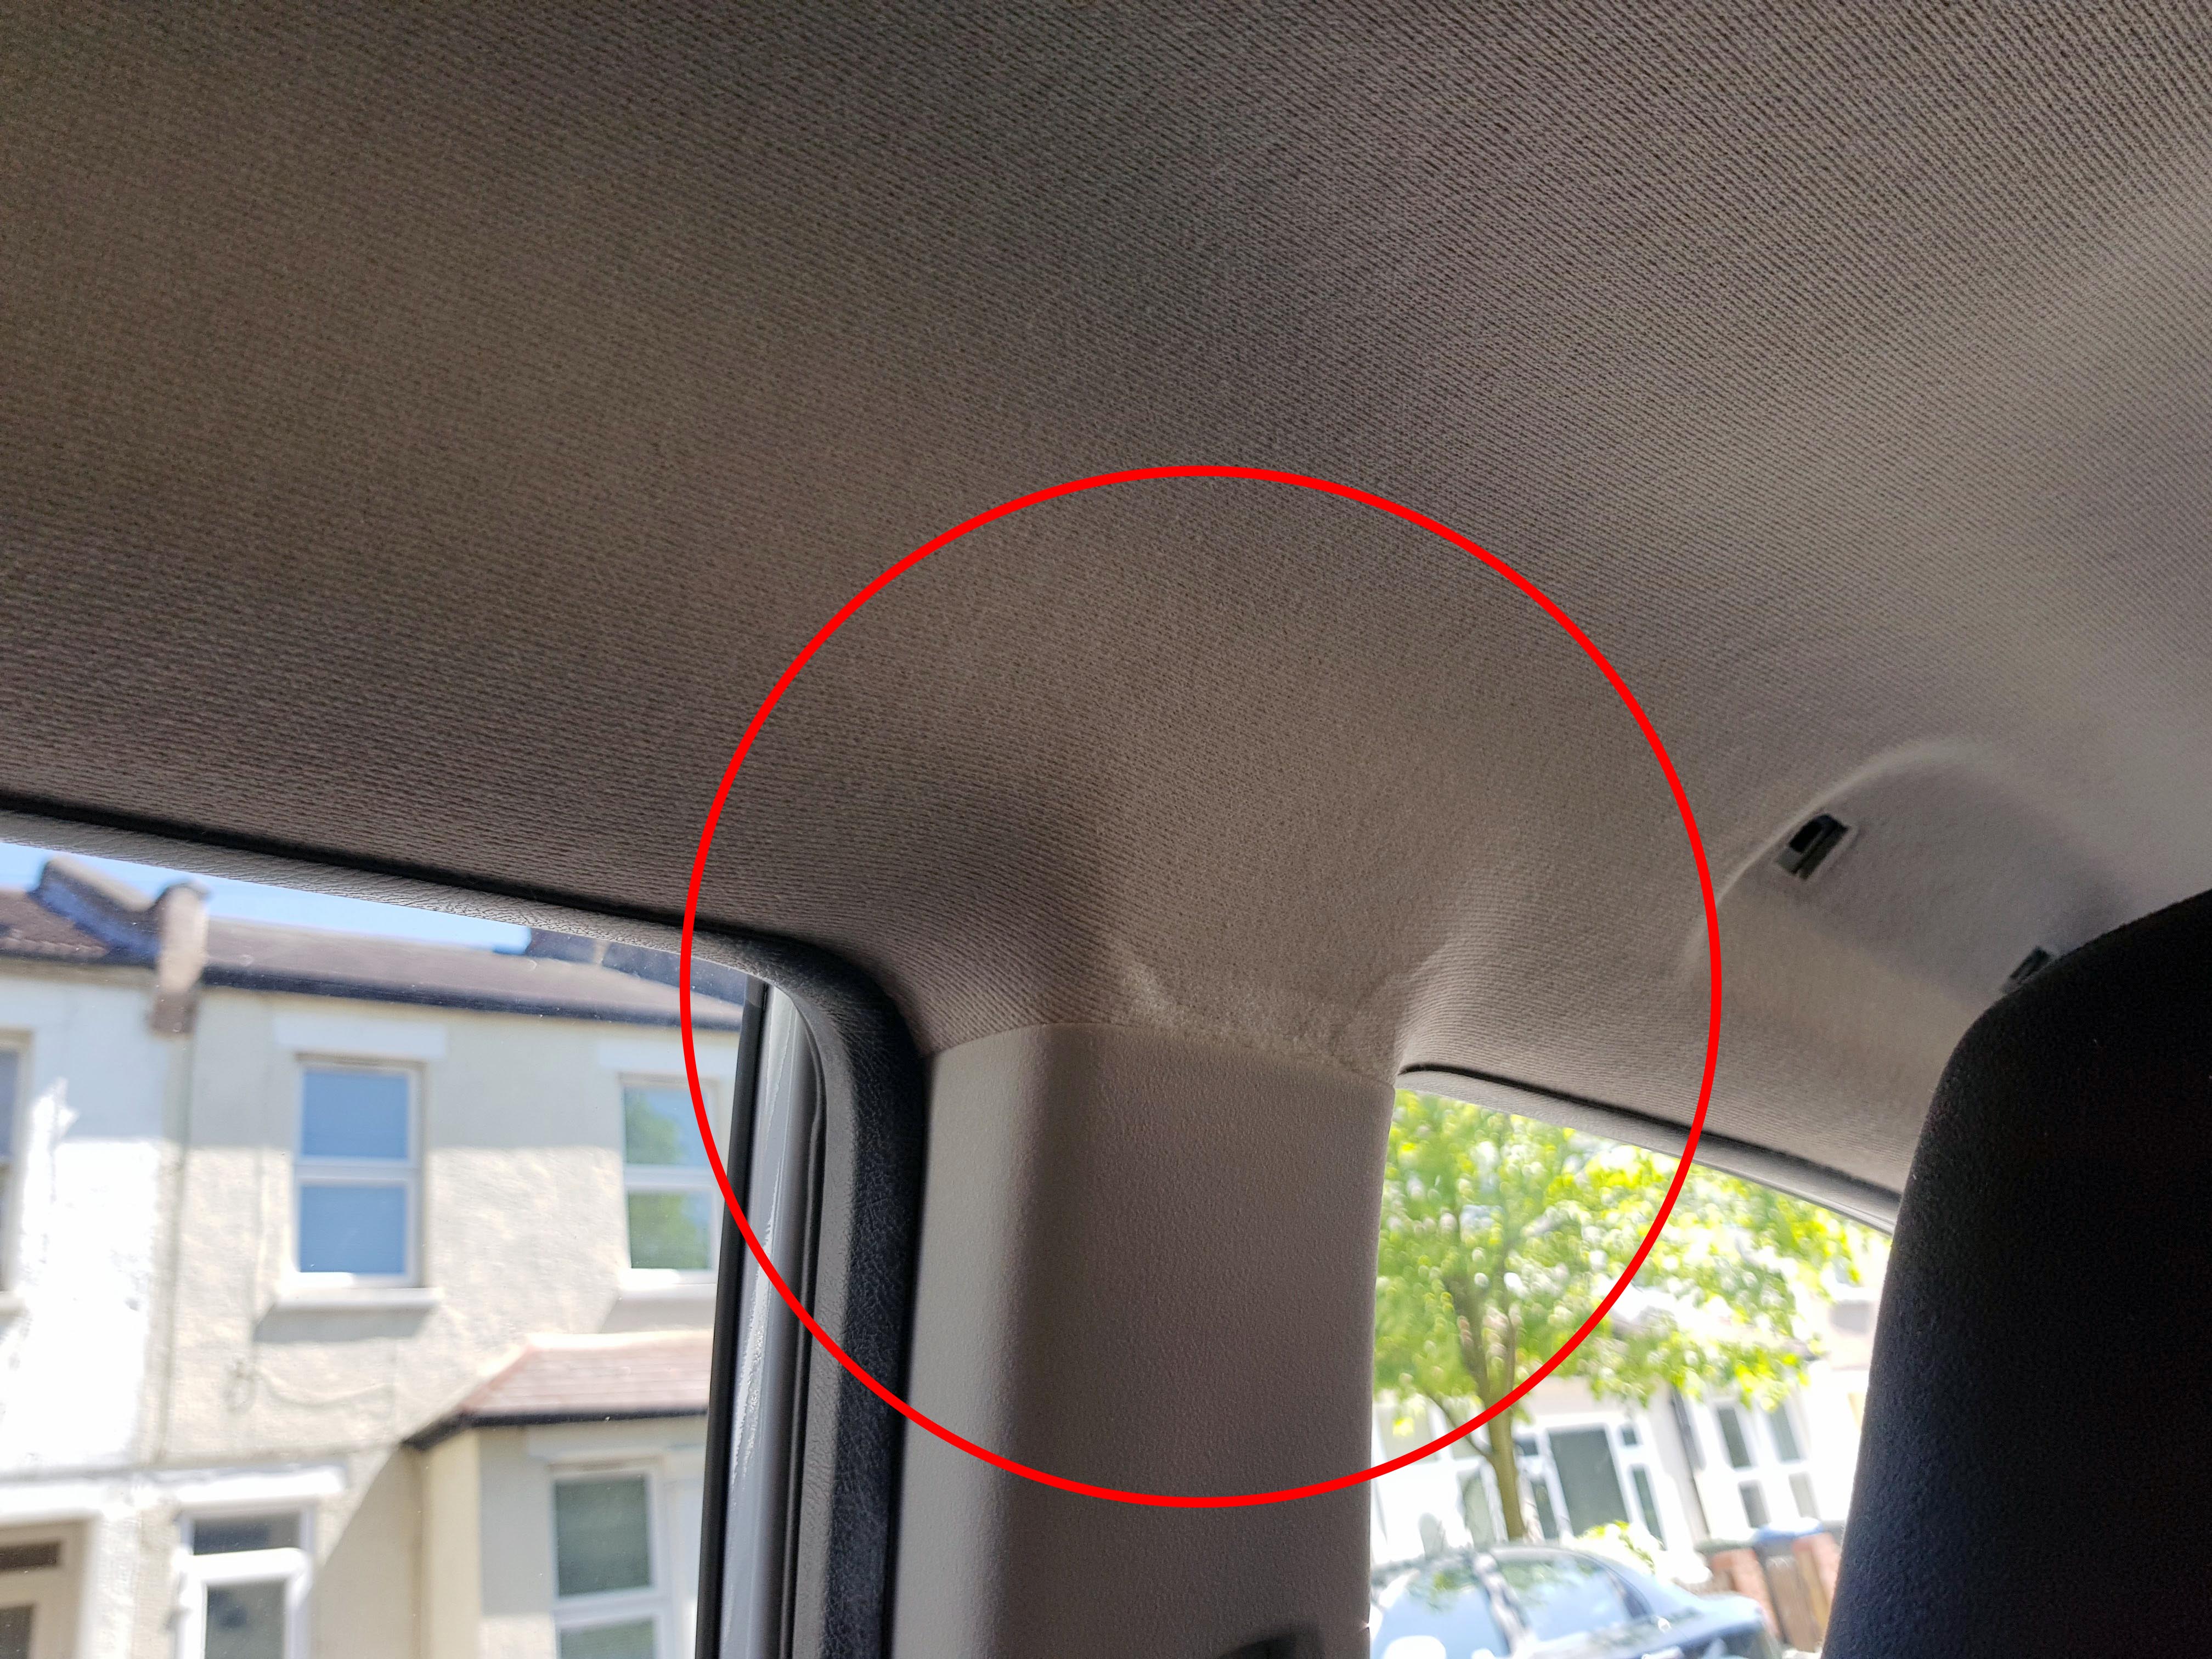
But apart from that, there's not really any other damage.
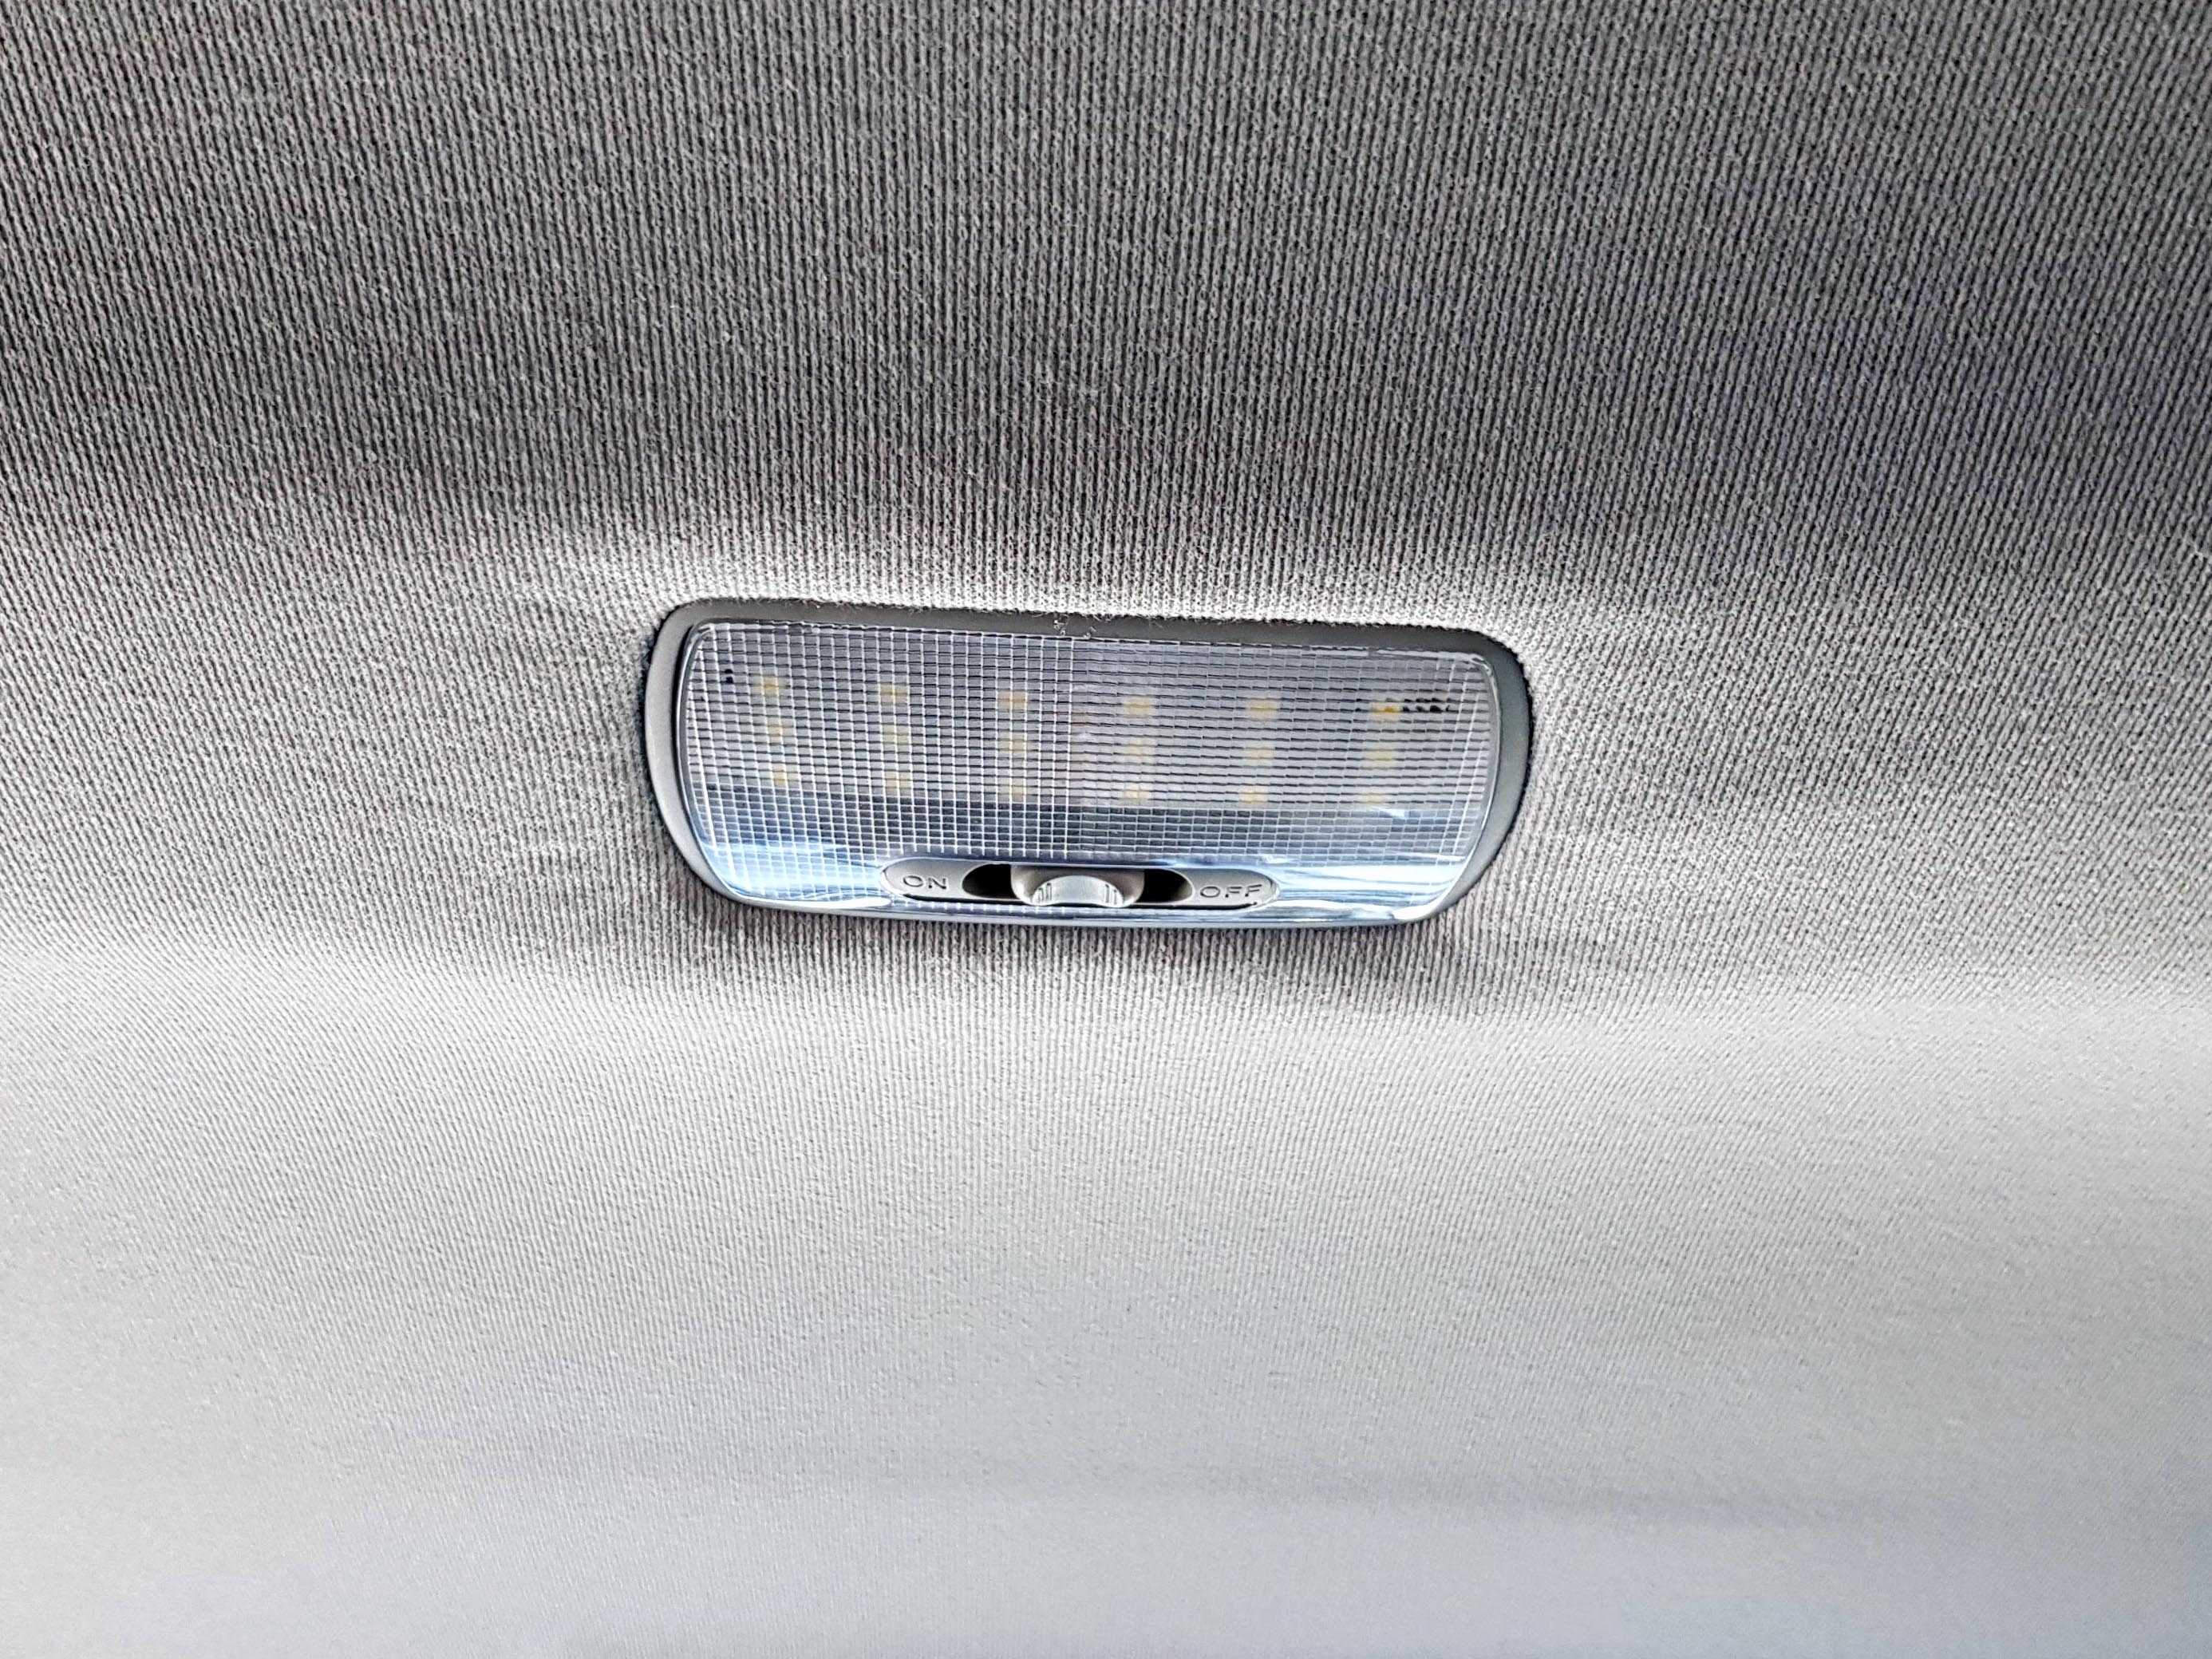
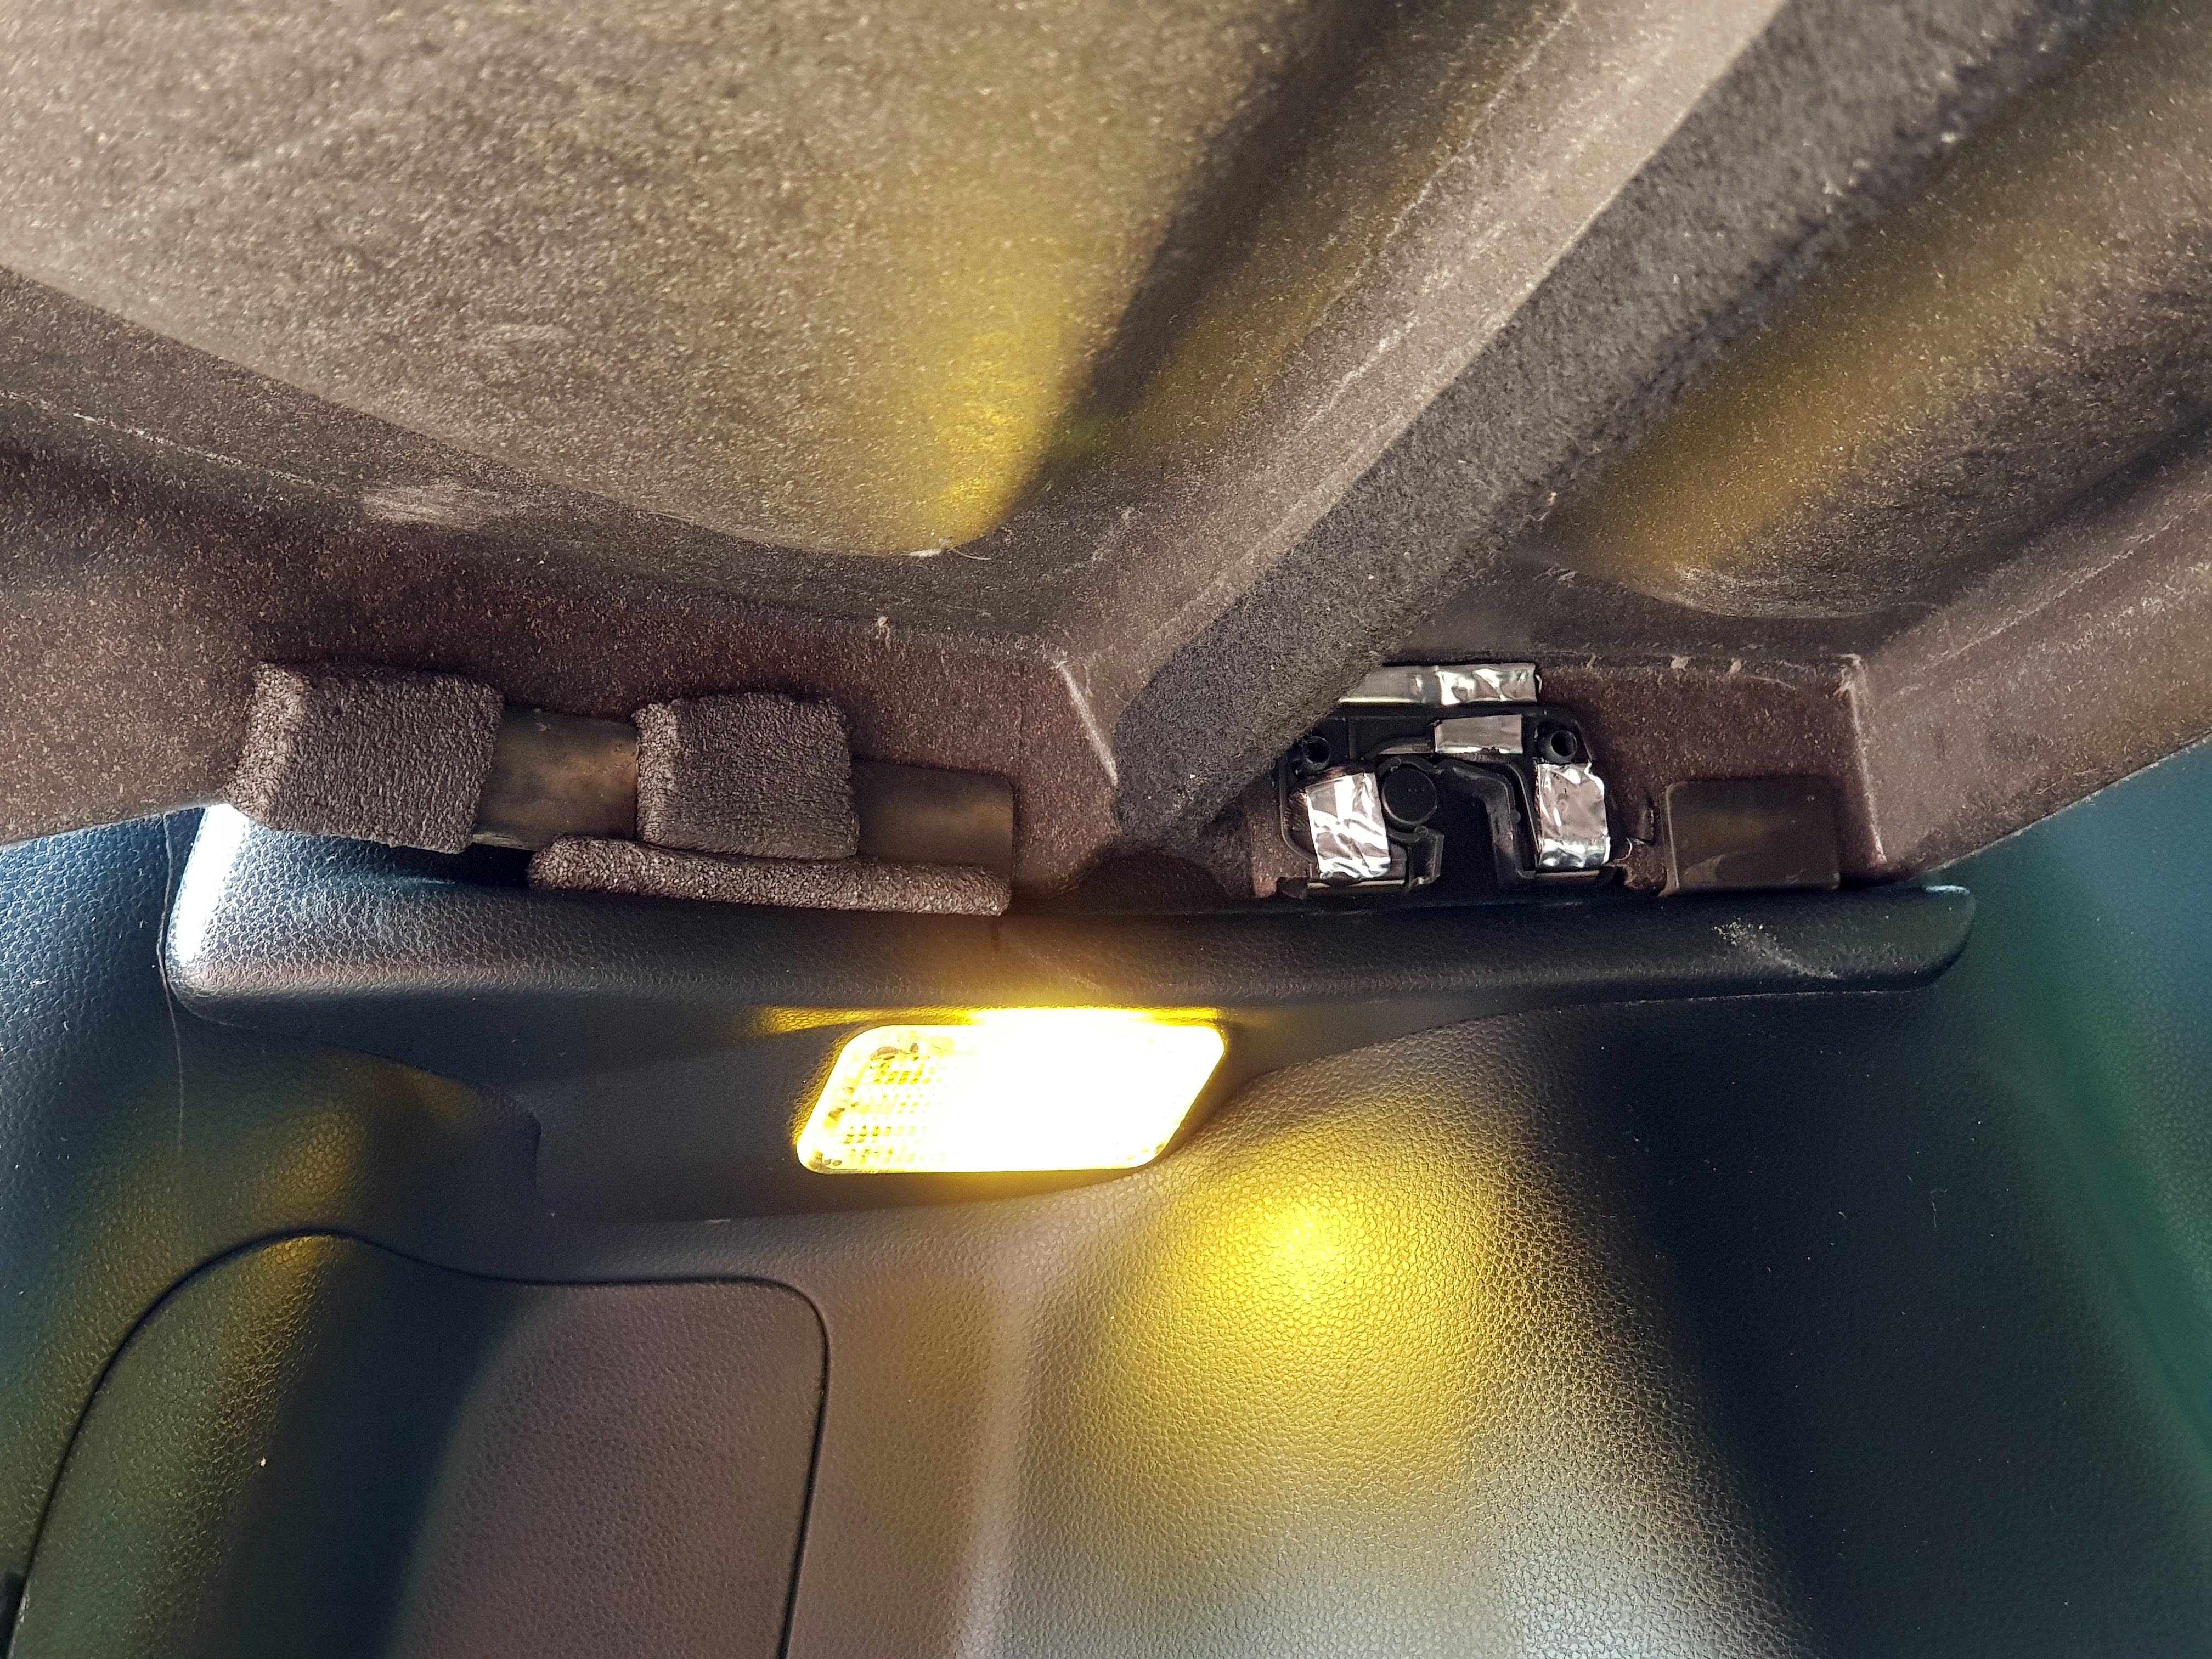
The only noticeable area where the liner doesn't fit quite right because of the foam underneath is around the main interior light, where there is some noticeable stretching:
I did notice quite a big difference after doing the roof, but it only seemed to make all the places noise was getting through more noticeable. But overall the car is a lot quieter.
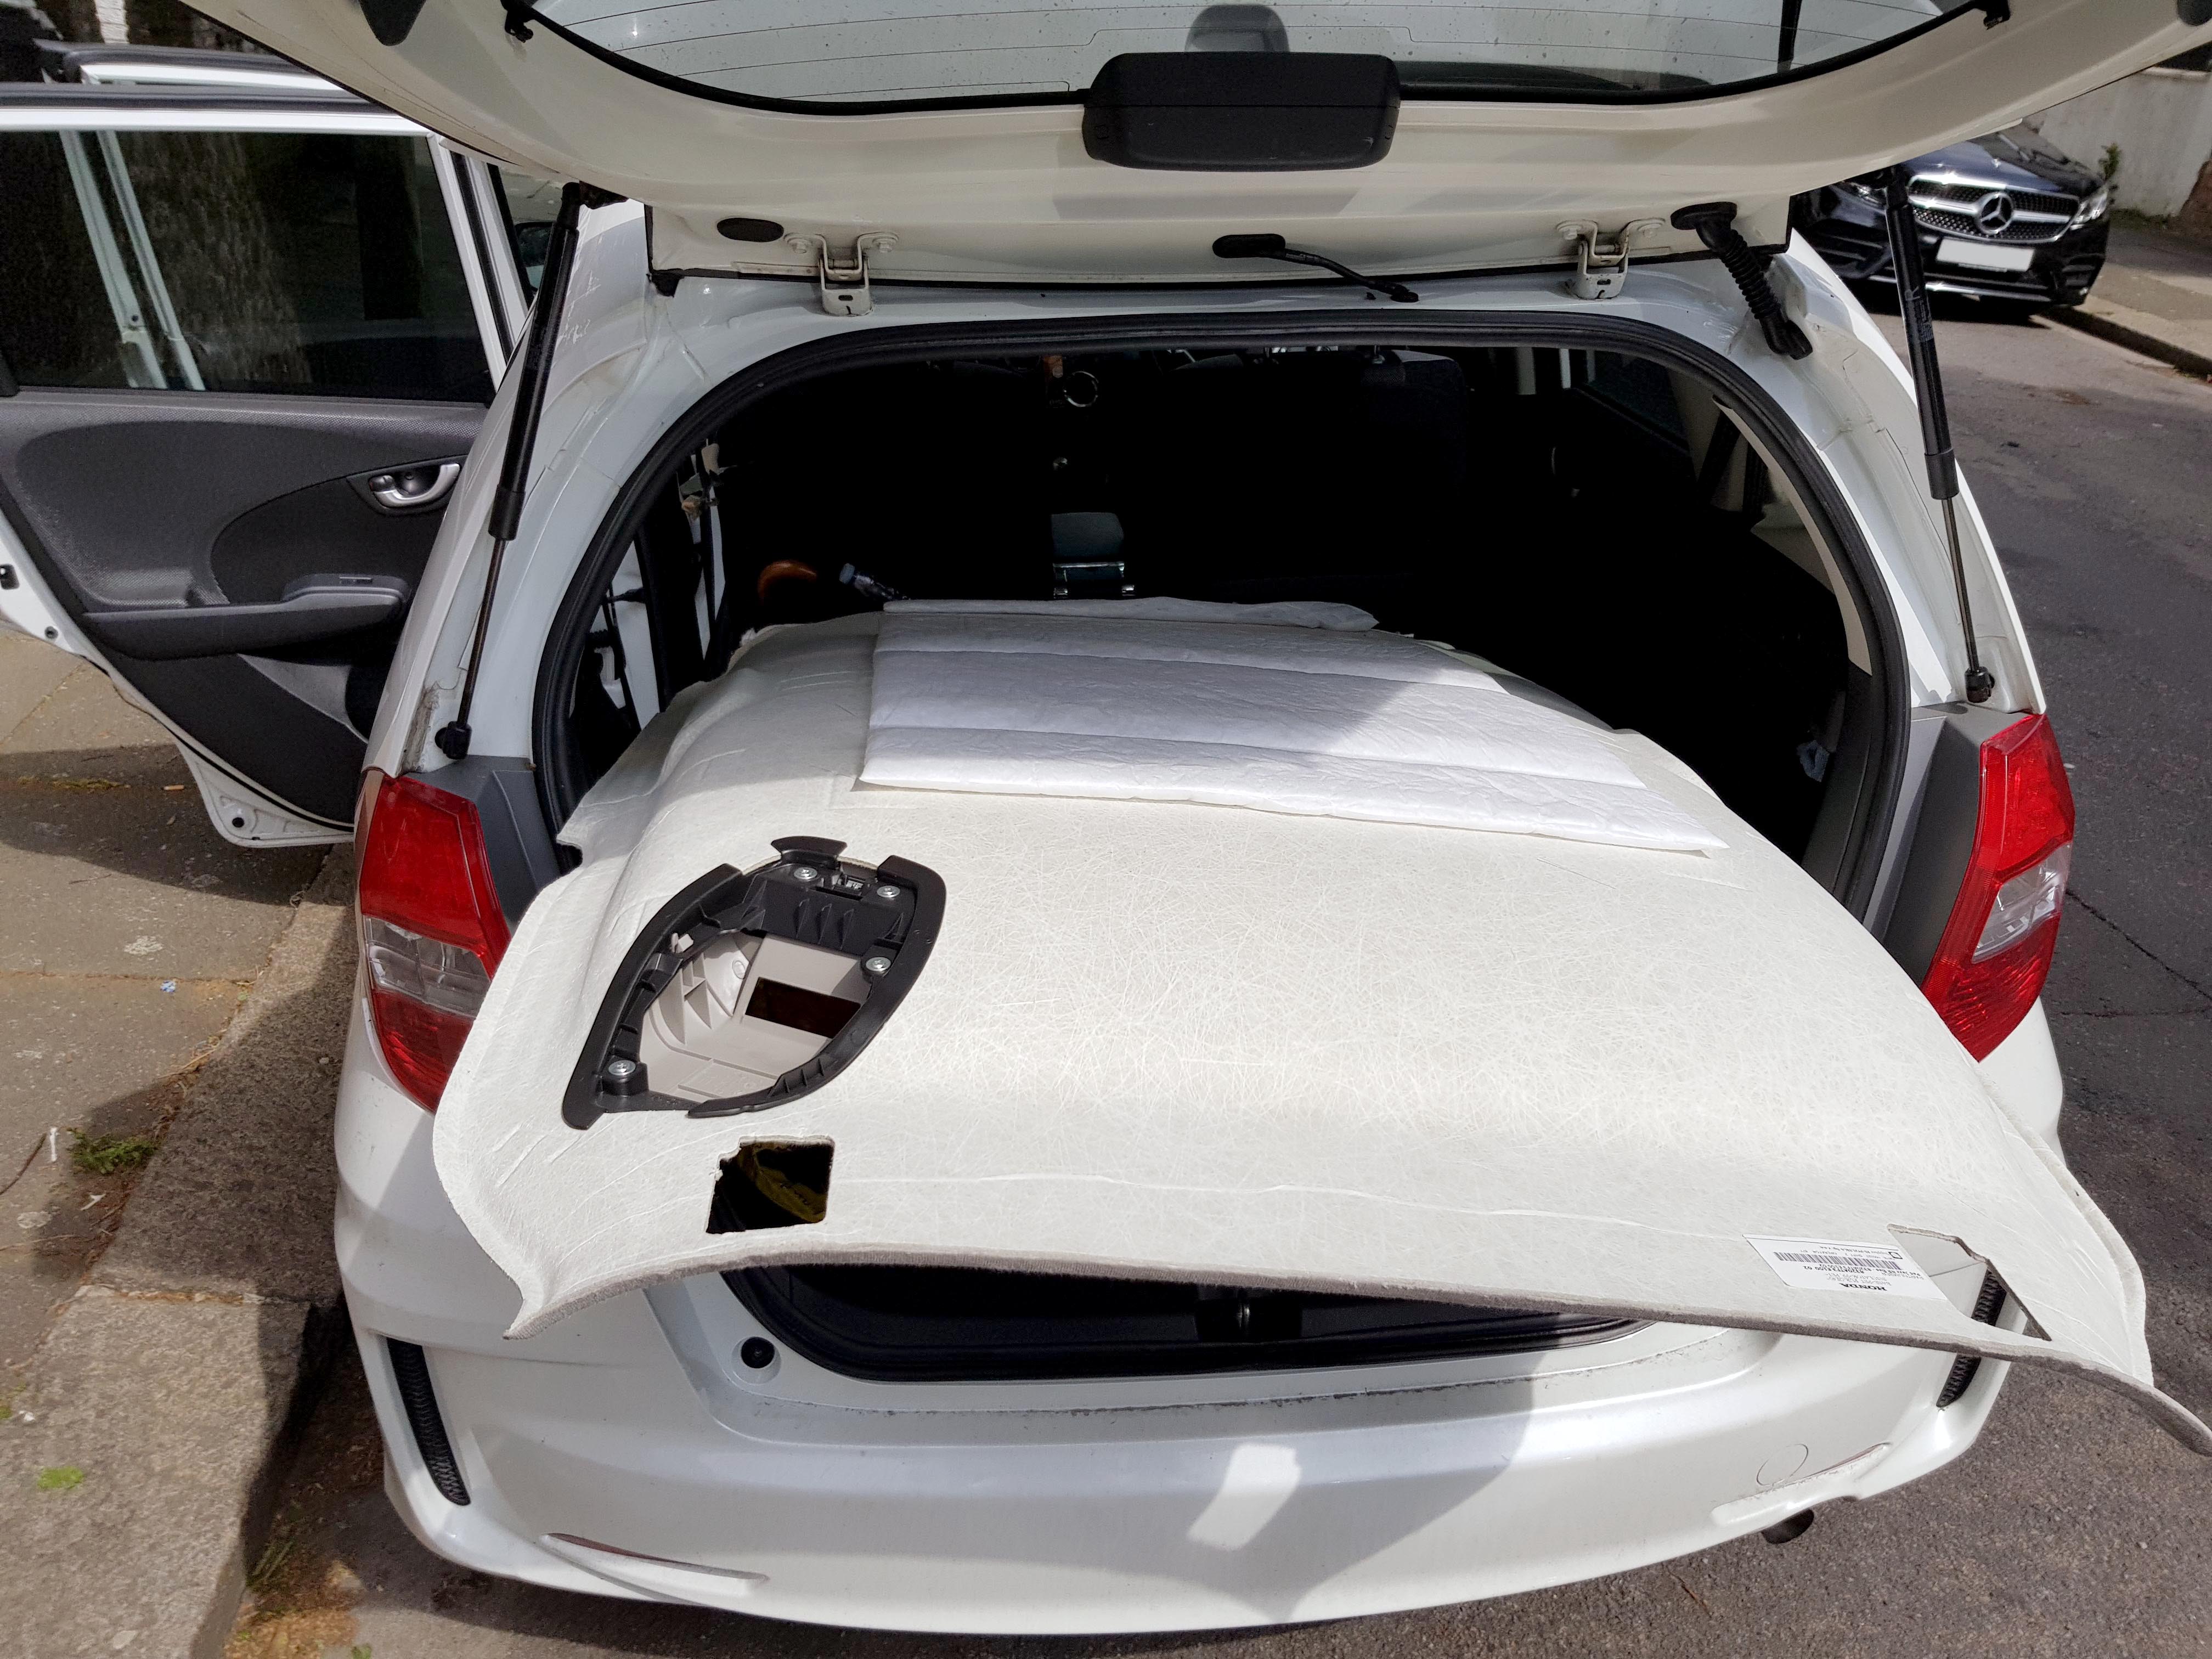
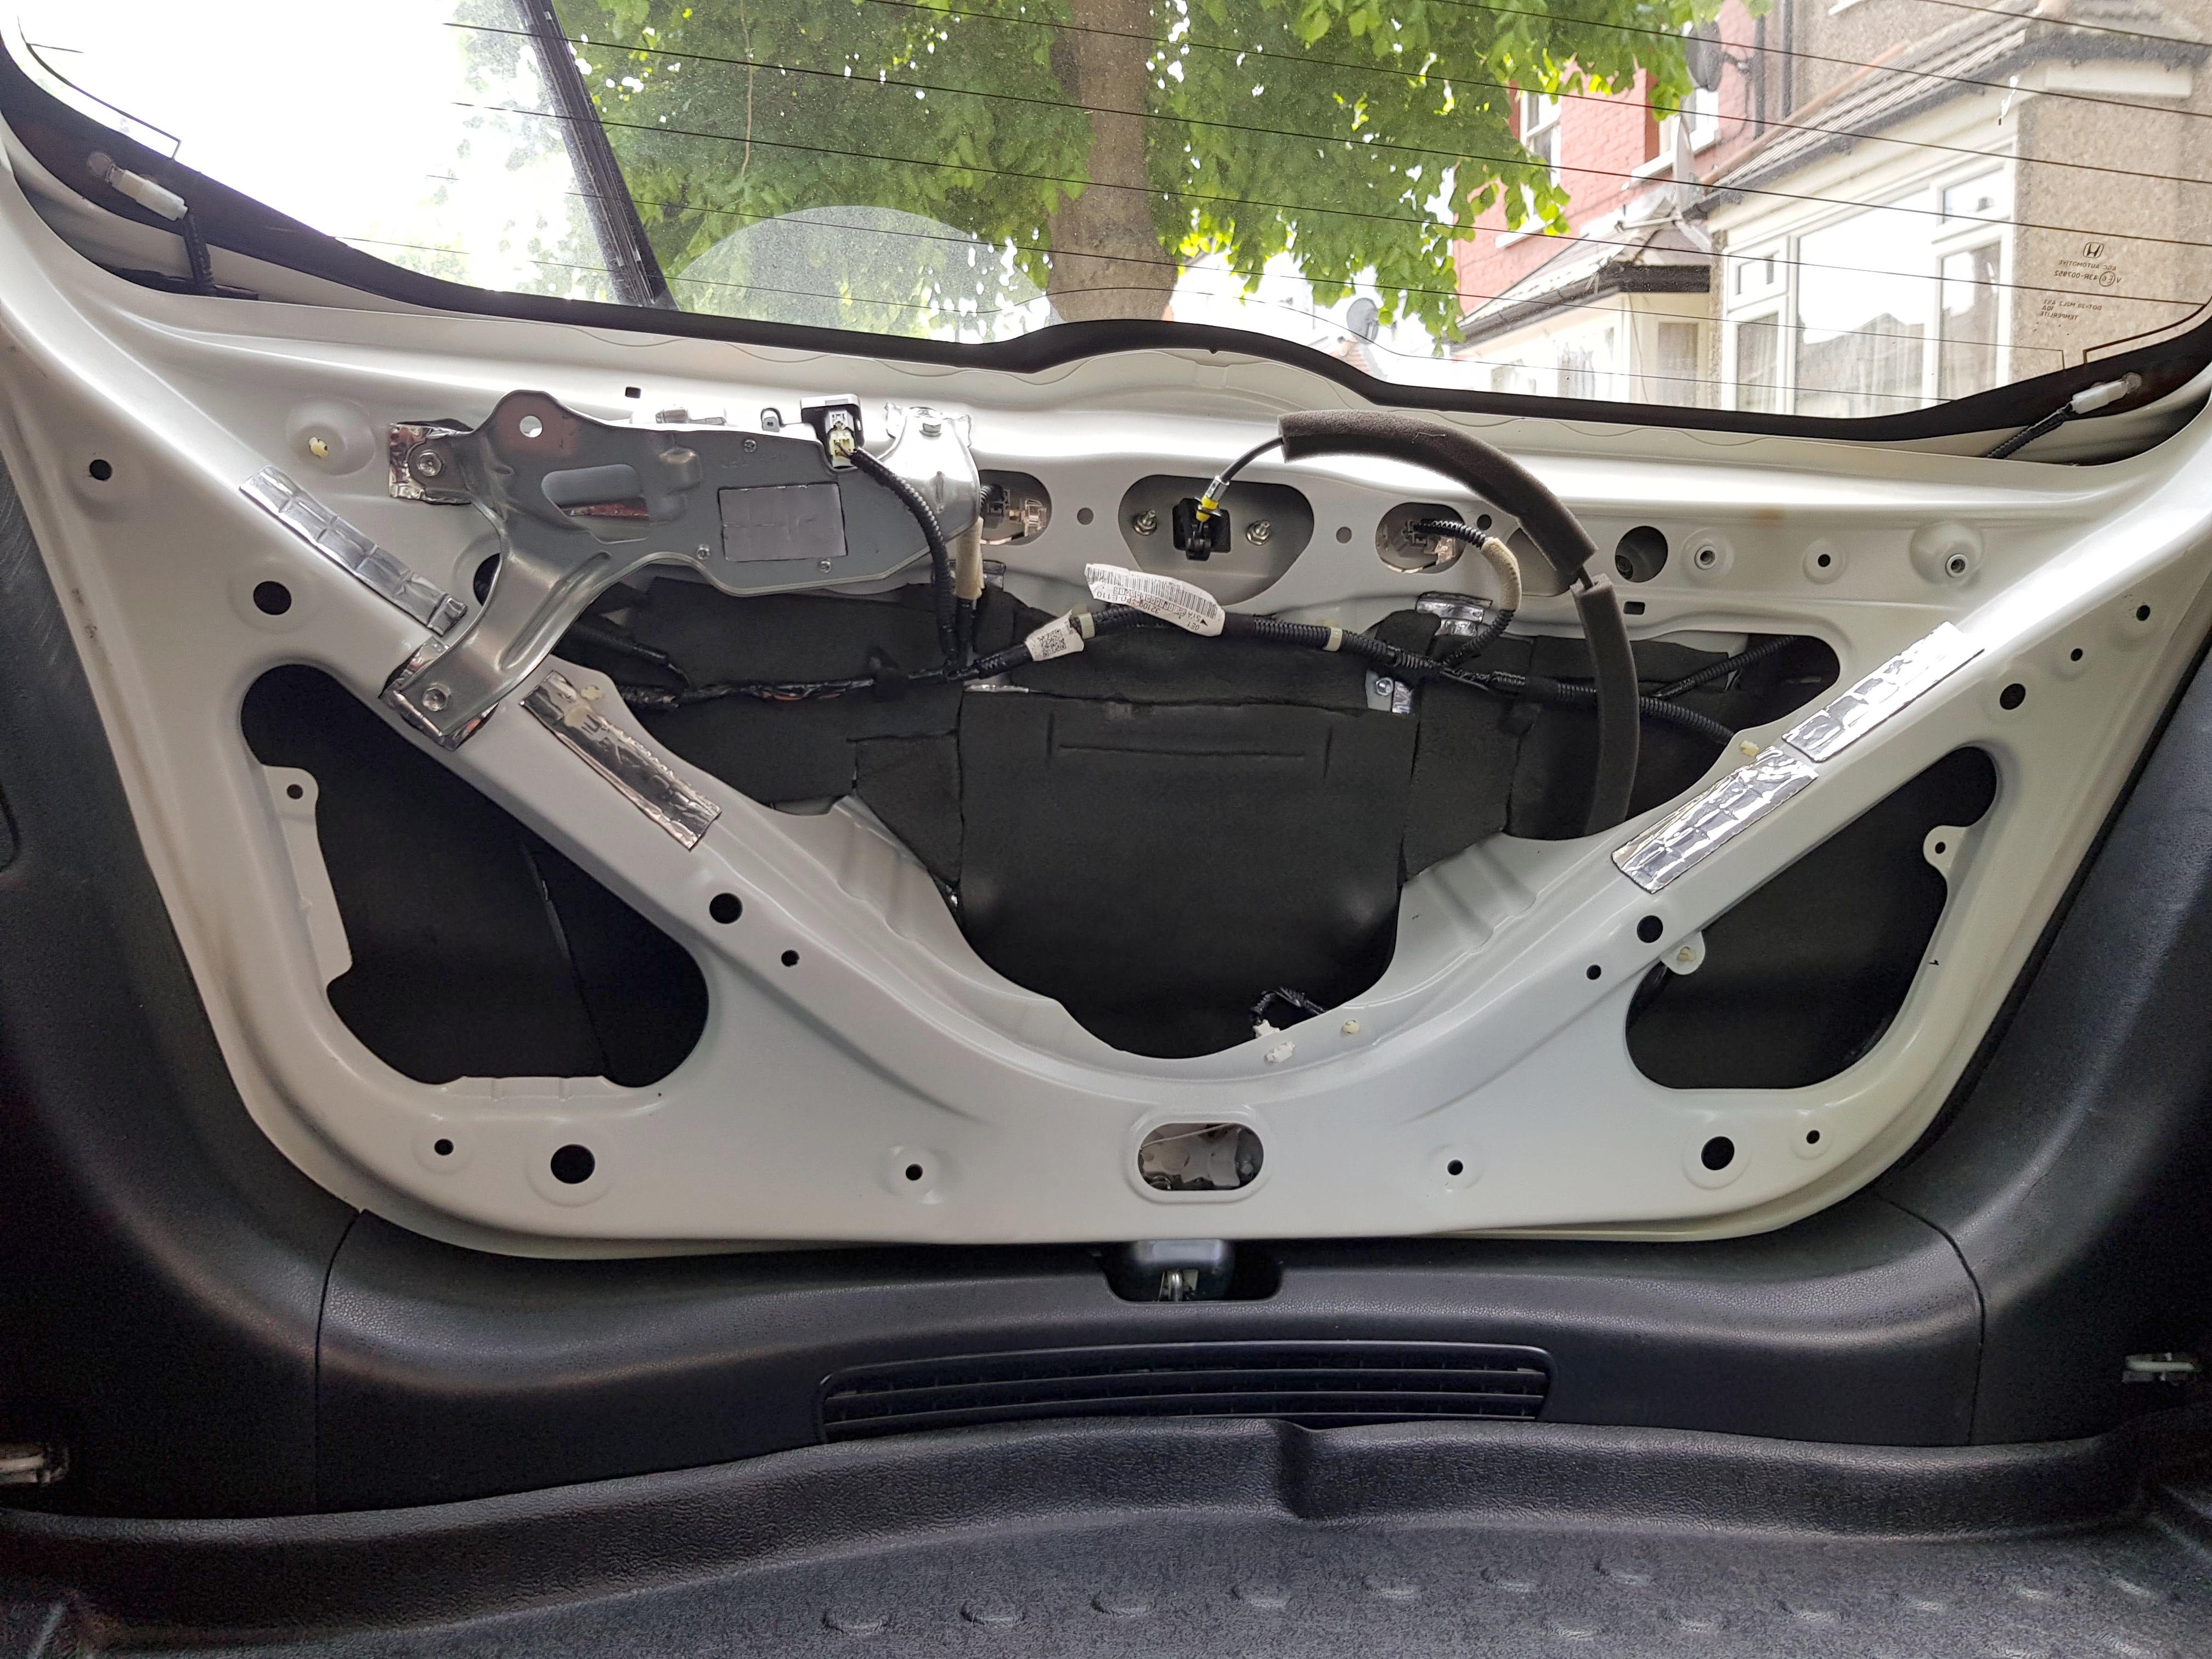
Next to do was the Boot lid.
It was easier to work on from the inside with the boot closed:
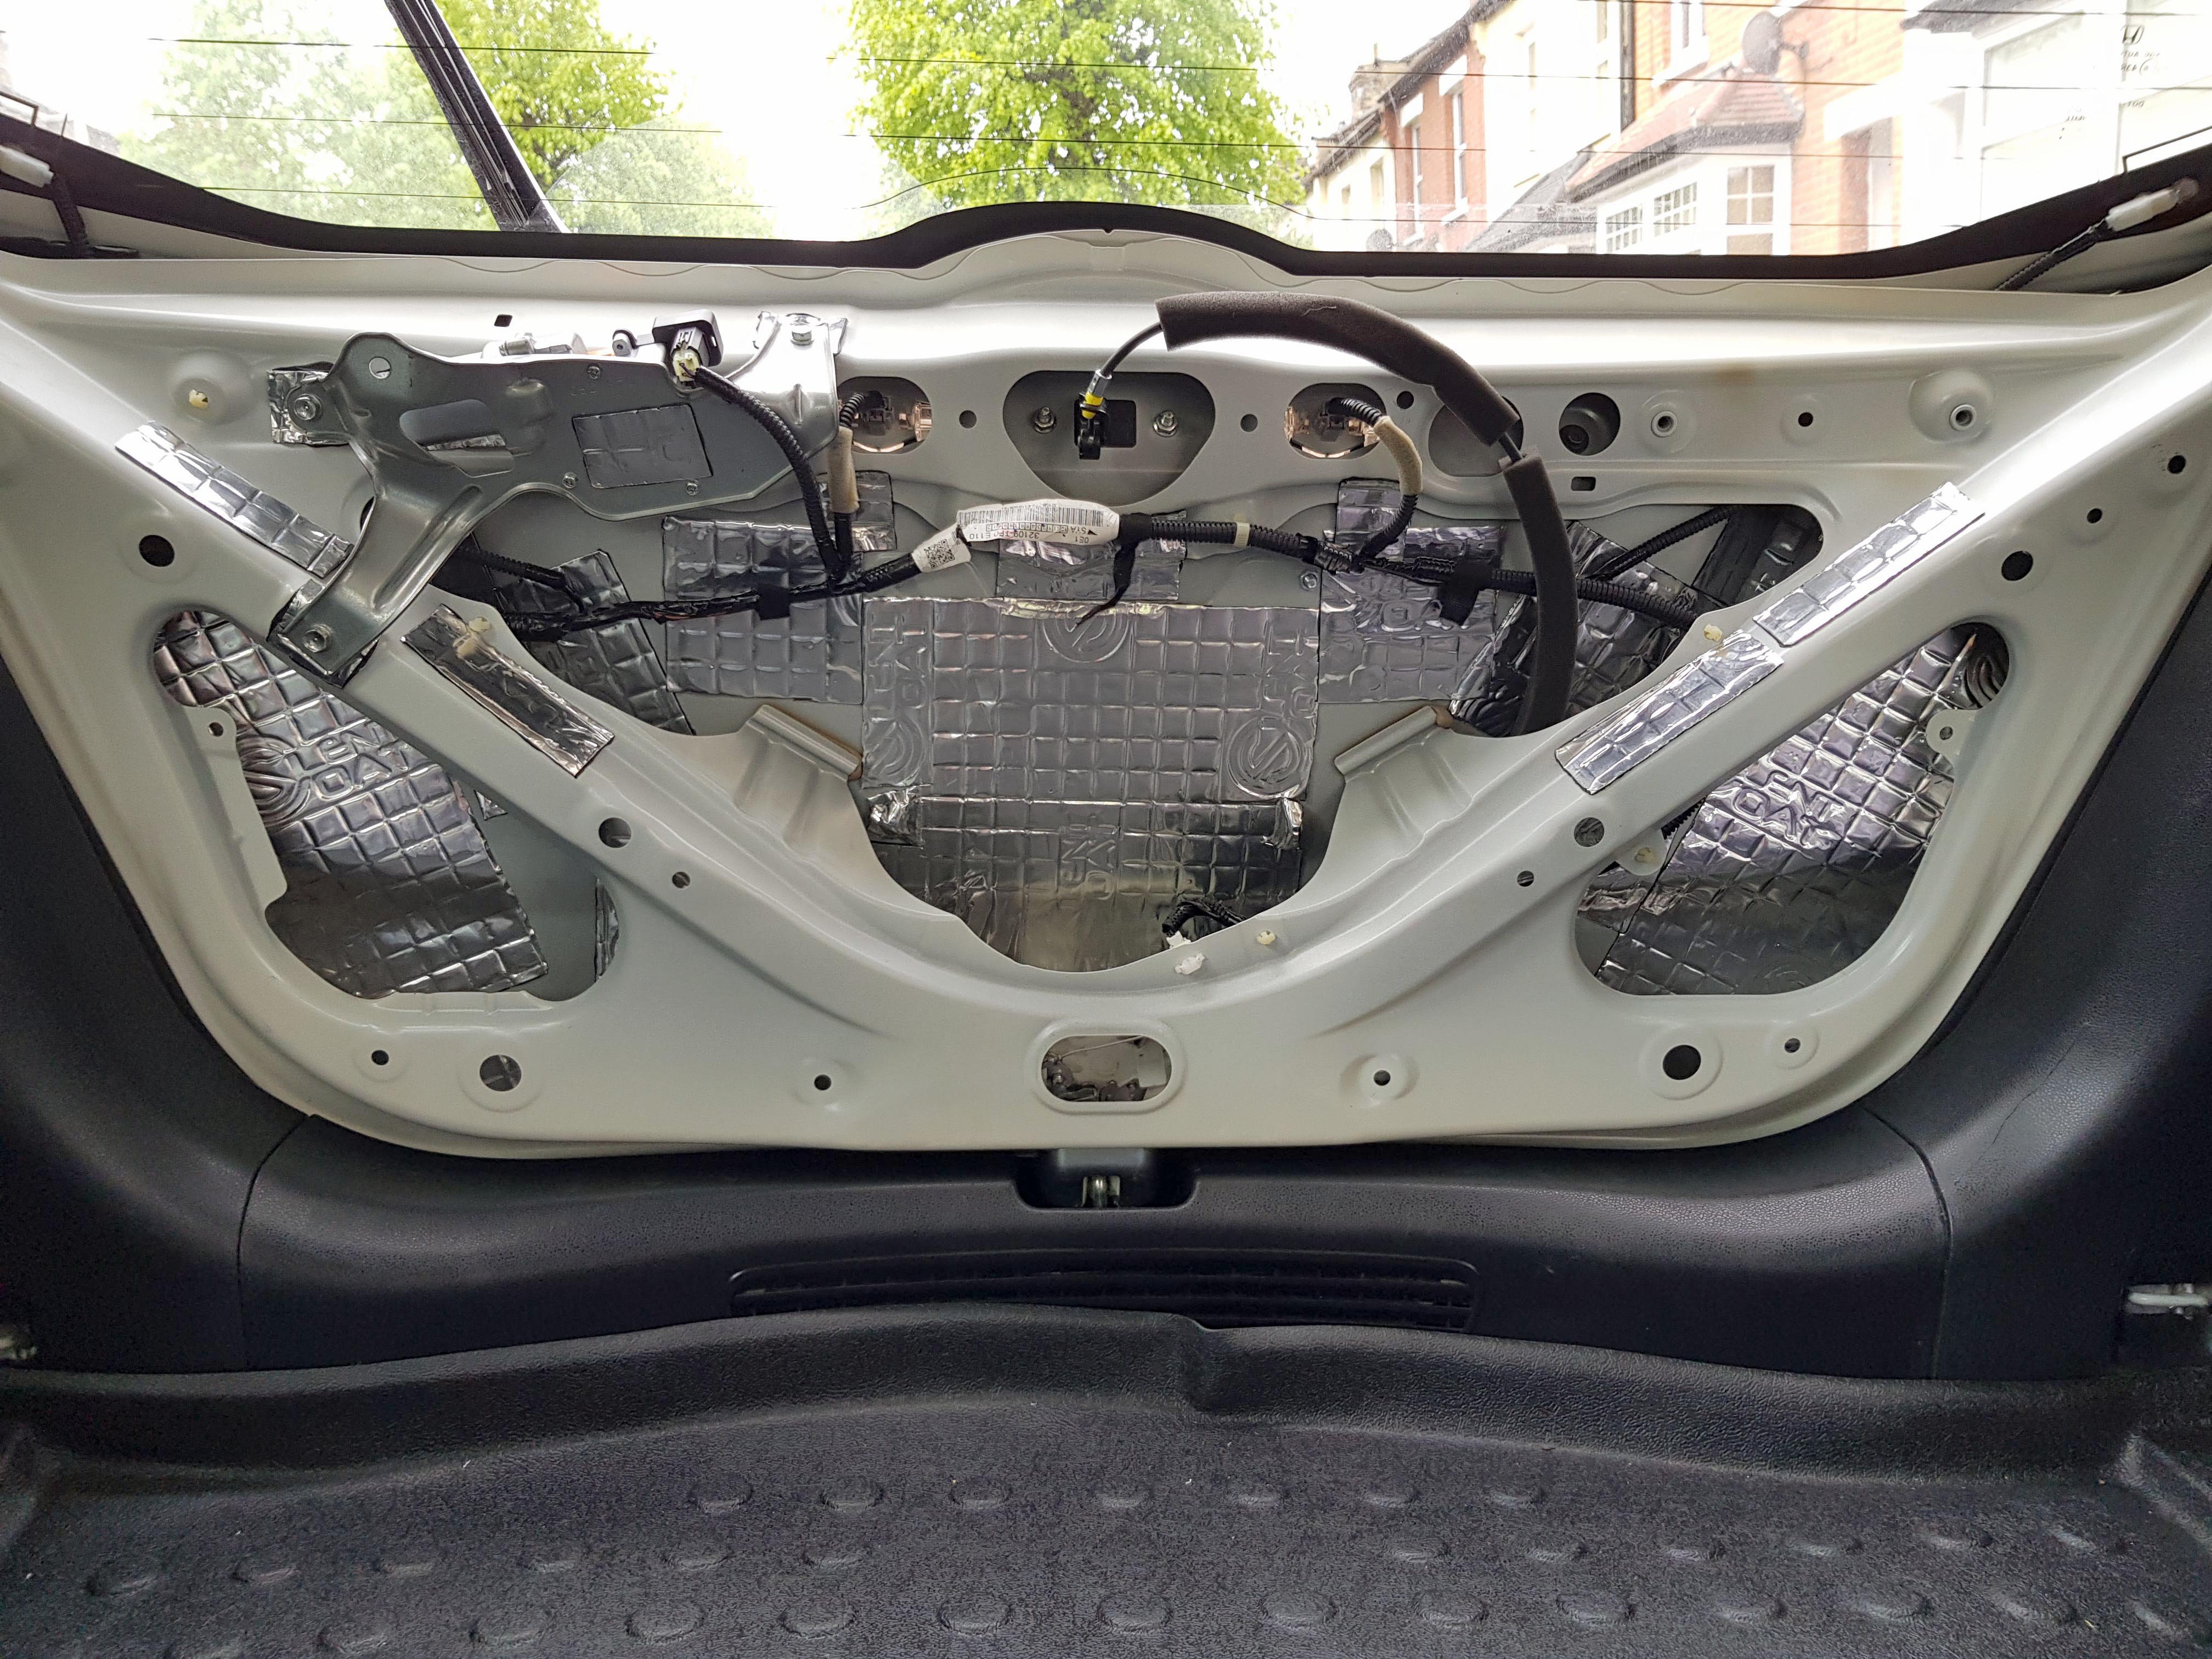
The Silent Coat added quite a bit of weight to the boot lid, and made the boot a lot harder to open. Luckily Honda installs a metal weight to the lid so it doesn't fly up too quickly, so I just removed that metal weight and it was basically back to normal again!
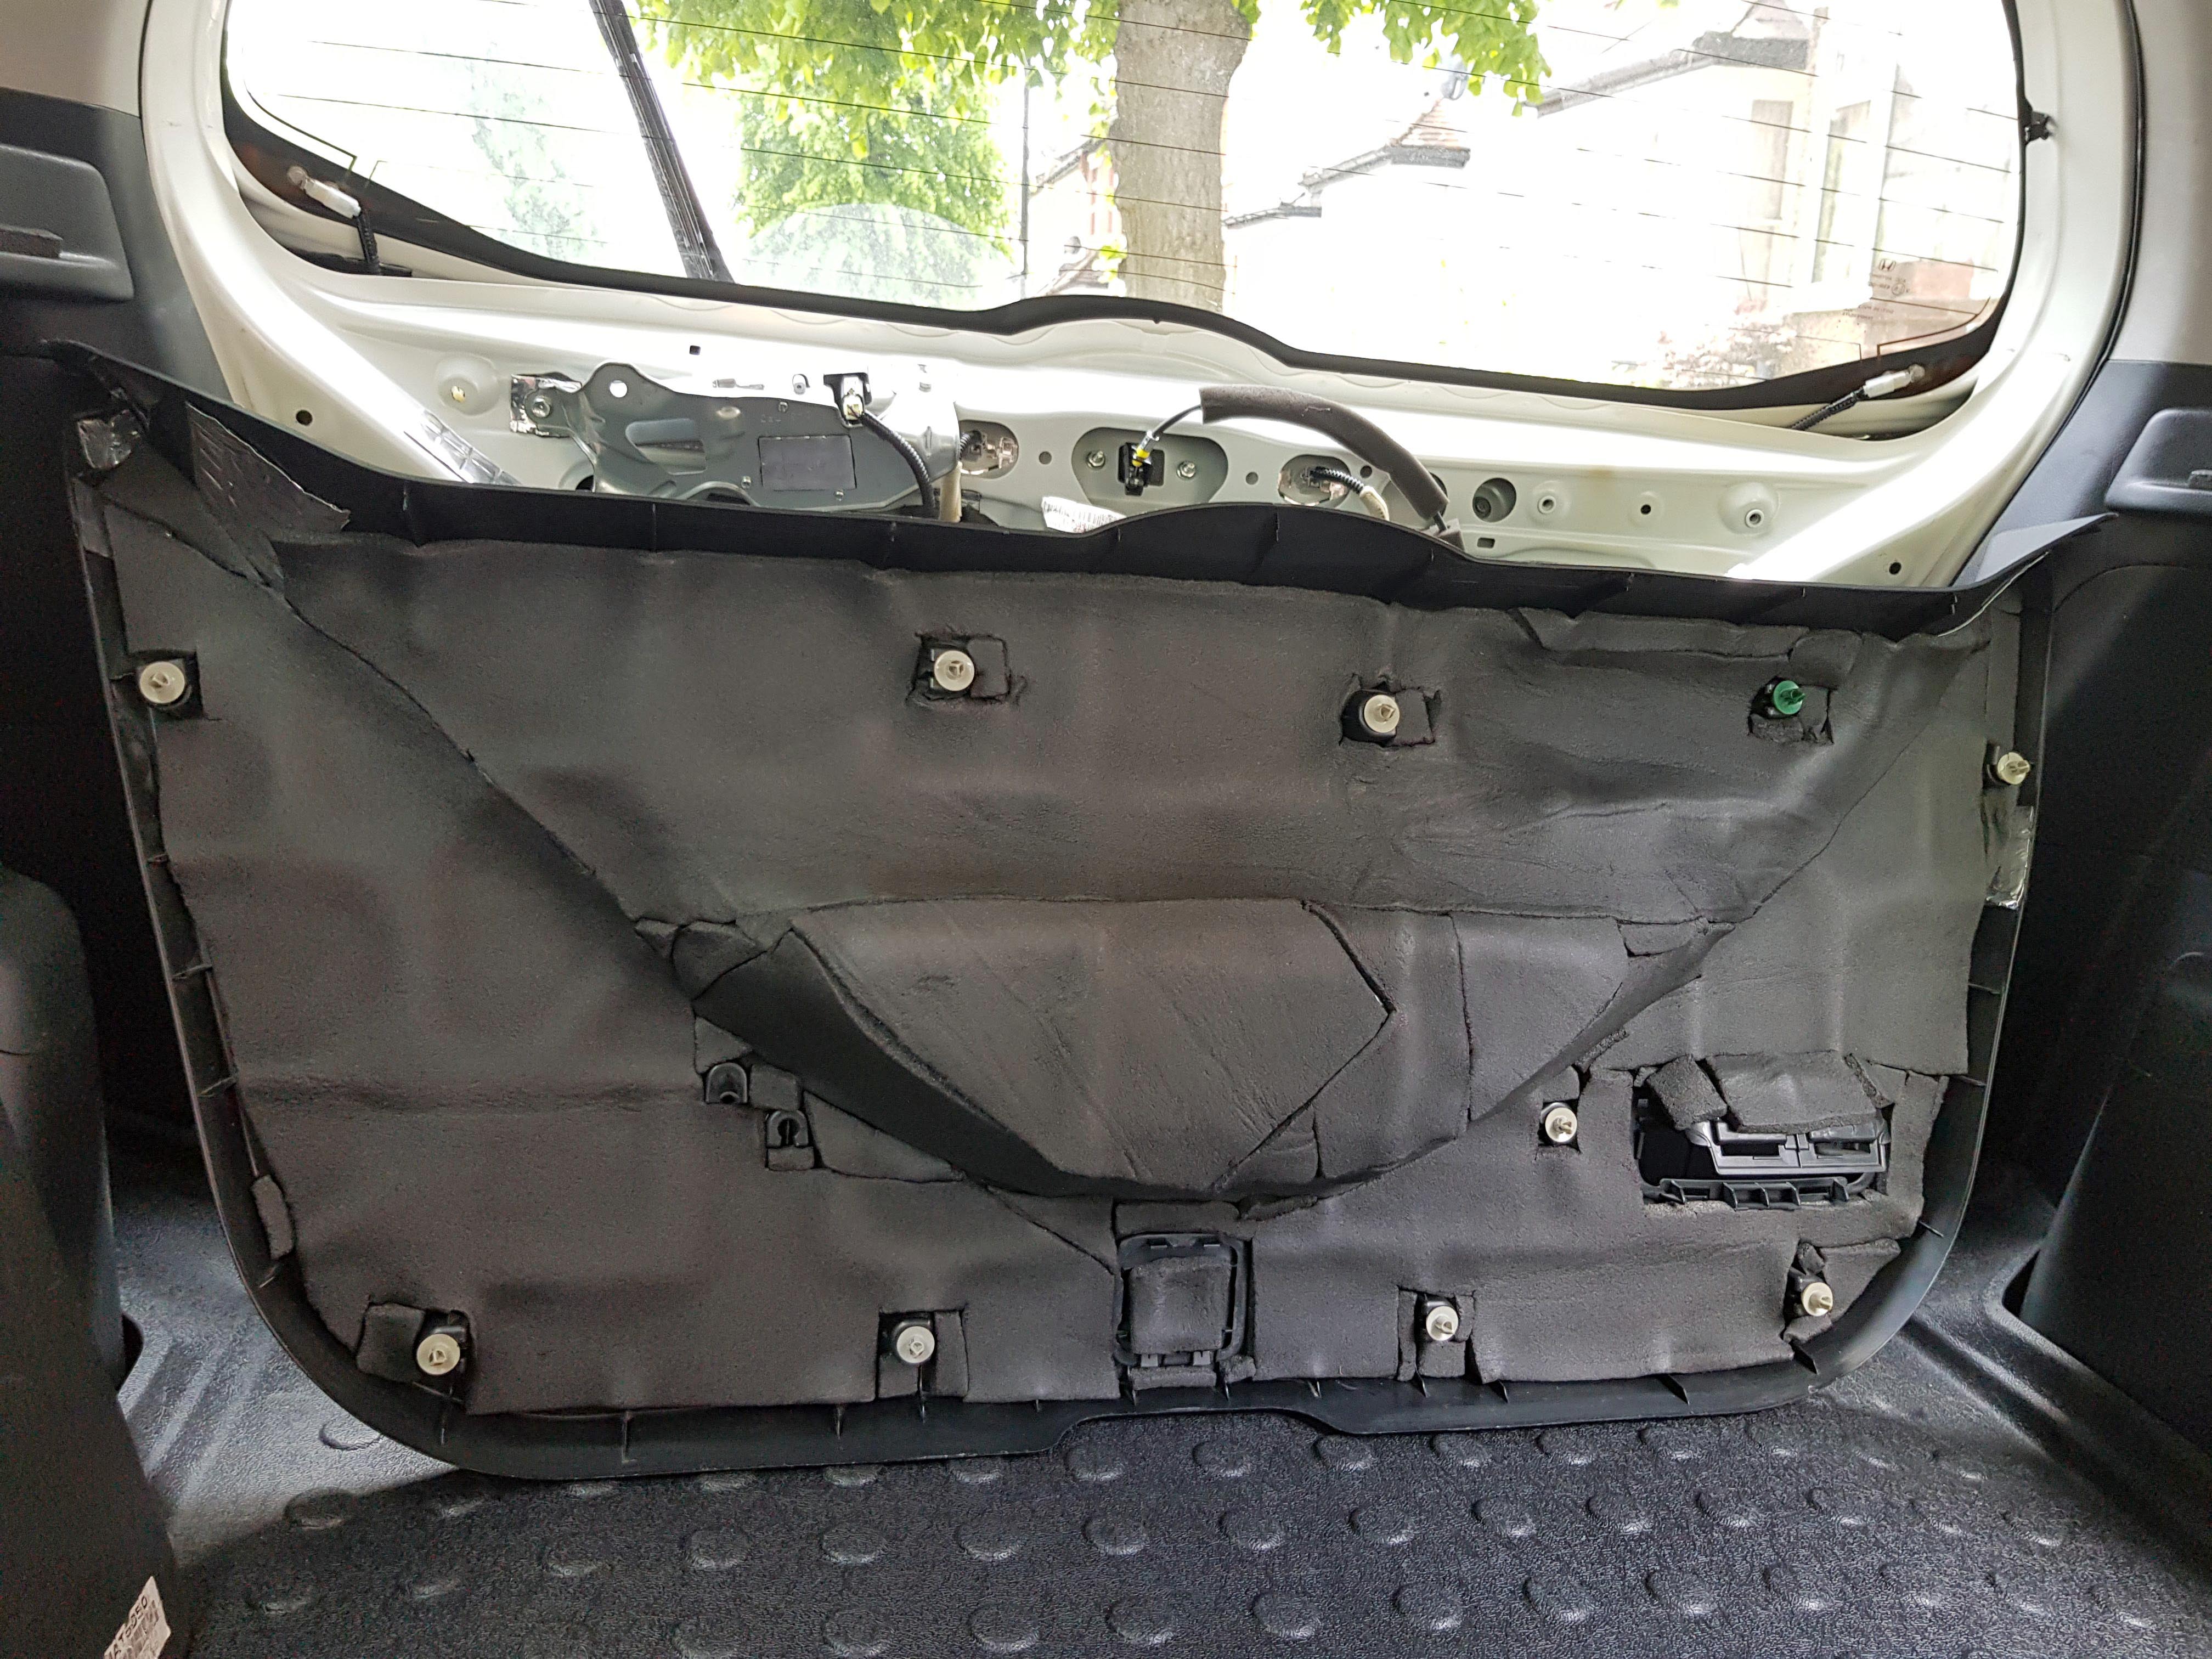
Next was the 10mm Closed Cell Foam
And then the foam installed to the plastic cover:
One small little detail that I really noticed and had to fix, was that the parcel shelf rattles when you go over bumpy surfaces, and I never really noticed it before until I made the car quieter, and now it drives me nuts, so I had to fix it!
I applied some silent coat to the areas causing the rattling, and added some closed cell foam to silence any rattling coming from the parcel shelf touching the rear plastic:
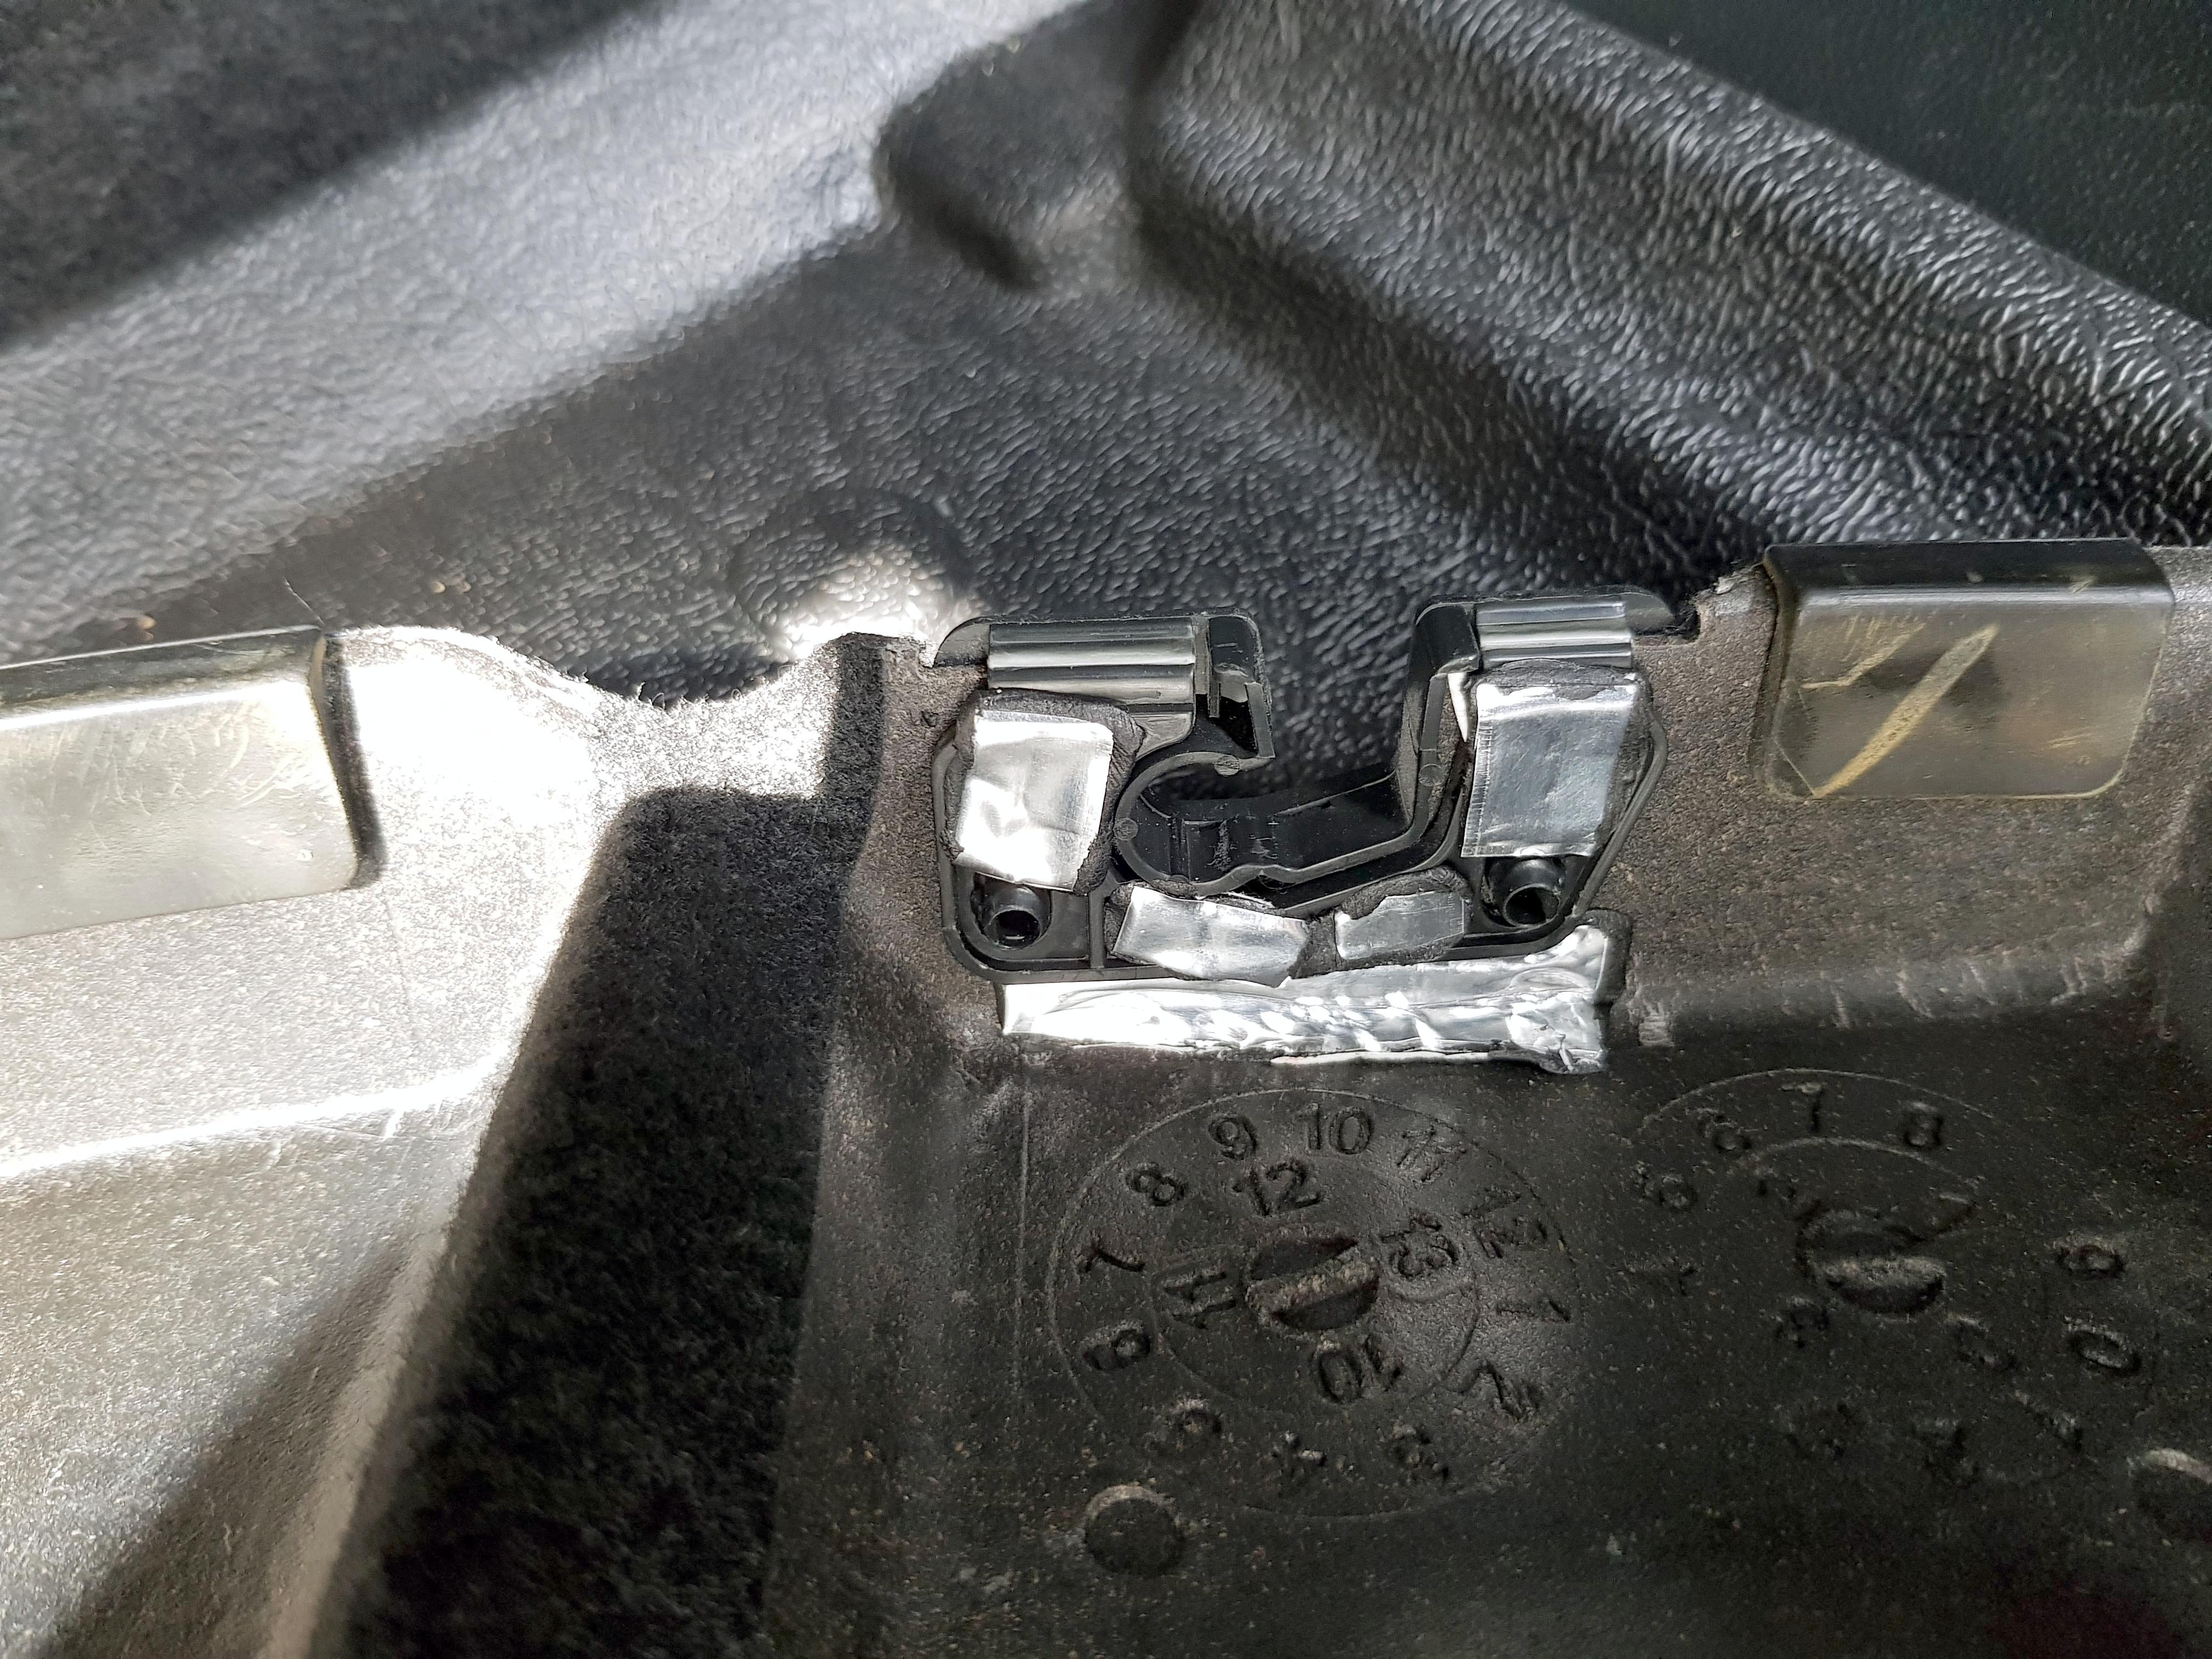
Slightly OCD I know, but it really stood out after the car became quieter and now it's rattle free!
Next stage is going to be doing the front inner wheel arches from underneath. Which means removing the front wheels and the wheel arch plastic trim. As I still get a lot of road noise front the front wheel arches. I currently have Bridgestone Turanza ER370's on it, which came from the factory. They are rated at 68db, which seems the lowest rating I can find for tyres for the car, so I don't know if changing them for some Yokohama BluEarth ES32's (which are also rated at 68db) would make any difference to the road noise from the tyres or not.
And I'm going to try and remove the road noise caused by the door seals.
I did notice quite a difference by simply removing the door seals and re fitting them properly with a rubber mallet.
But I saw on another forum someone used some PVC rubber piping and ran it through the standard door seal to create a better seal when the door closes, and they added some extra adhesive rubber door seals to each door to get the gaps the standard ones don't get. So I've ordered some PVC rubber piping and some adhesive door seals and I will take it from there.
So watch the space for those!


